IPv4
From $0.70 for 1 pc. 40 countries to choose from, rental period from 7 days.
IPv4
From $0.70 for 1 pc. 40 countries to choose from, rental period from 7 days.
IPv4
From $0.70 for 1 pc. 40 countries to choose from, rental period from 7 days.
IPv6
From $0.07 for 1 pc. 14 countries to choose from, rental period from 7 days.
ISP
From $1.35 for 1 pc. 21 countries to choose from, rental period from 7 days.
Mobile
From $14 for 1 pc. 14 countries to choose from, rental period from 2 days.
Resident
From $0.90 for 1 GB. 200+ countries to choose from, rental period from 30 days.
Use cases:
Use cases:
Tools:
Company:
About Us:
A proxy server allows you to remain anonymous on the web, change your IP address and location, work with a large number of social media accounts, and bypass any blocking. Setting up a proxy on Android without root seems like a daunting task, but we will prove that it is not. You can easily do this using the Wi-Fi settings or special applications.
Root rights on Android give access to advanced phone settings, and allow to delete or edit system data, including setting a proxy server on a mobile device. But there are also disadvantages: the phone may malfunction or an inept user with root access will accidentally delete important files. Therefore, we will show you how to set up a proxy server without root so as not to harm your device.
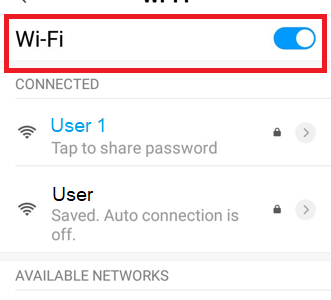
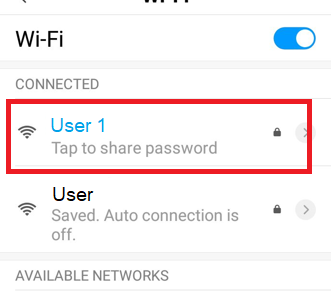
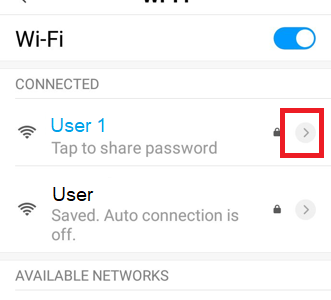
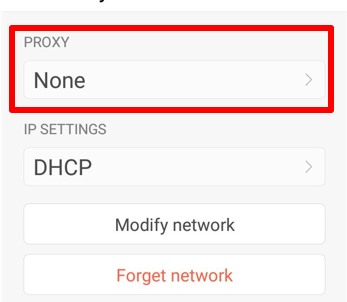
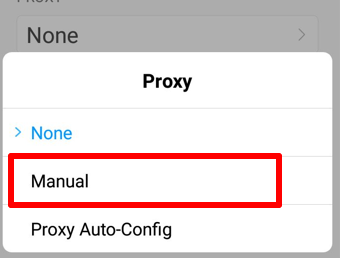
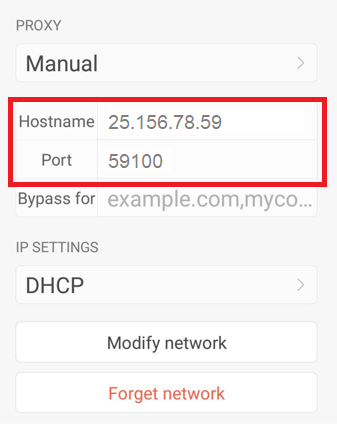
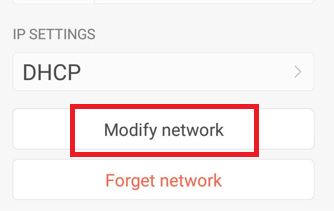
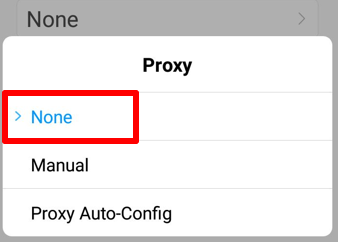
You have set up a proxy on your mobile device! It will work for all browsers and apps on the phone. In the same way, you can disable the proxy:
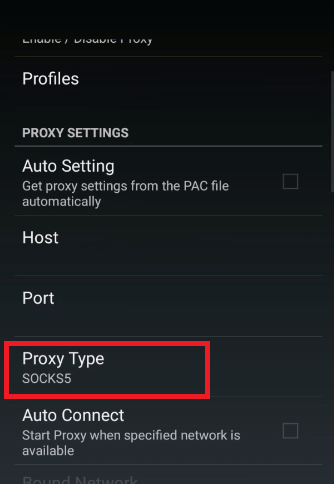
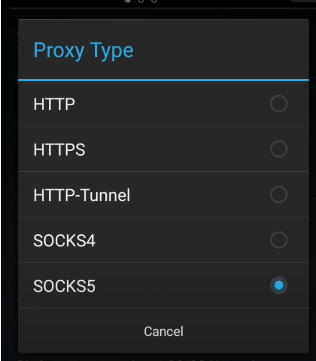
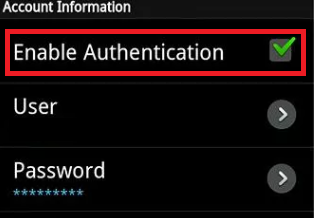
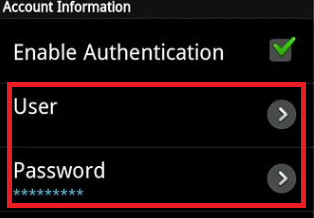
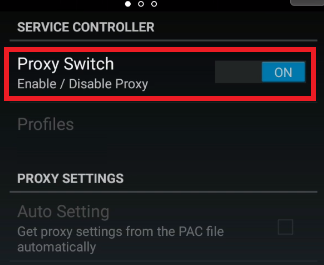
Proxydroid is an alternative to Proxifier for Android mobile phones. But Proxydroid can only be used by users who already have root rights. First of all, download this app from Google Play, and get started.
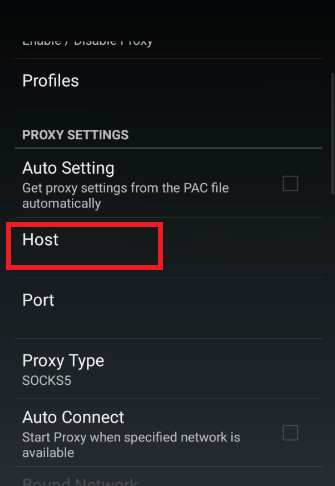
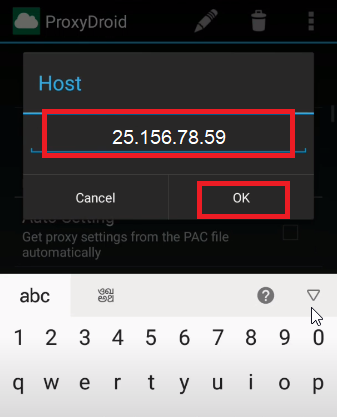
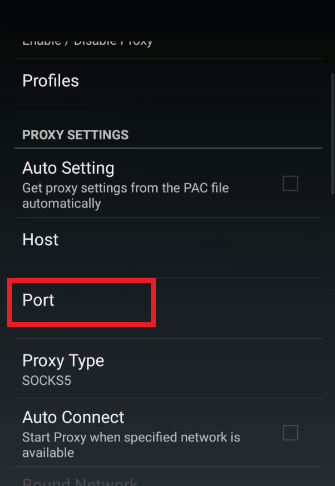
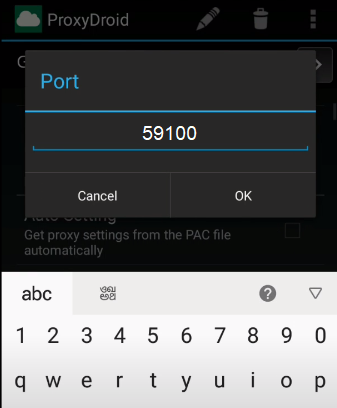
For Android, we recommend that you use high-quality personal proxies, such as mobile 4G with rotation. Free proxy servers do not guarantee you complete protection, and sometimes they can even harm your device.
