IPv4
From $0.70 for 1 pc. 40 countries to choose from, rental period from 7 days.
IPv4
From $0.70 for 1 pc. 40 countries to choose from, rental period from 7 days.
IPv4
From $0.70 for 1 pc. 40 countries to choose from, rental period from 7 days.
IPv6
From $0.07 for 1 pc. 14 countries to choose from, rental period from 7 days.
ISP
From $1.35 for 1 pc. 21 countries to choose from, rental period from 7 days.
Mobile
From $14 for 1 pc. 14 countries to choose from, rental period from 2 days.
Resident
From $0.90 for 1 GB. 200+ countries to choose from, rental period from 30 days.
Use cases:
Use cases:
Tools:
Company:
About Us:
Origin is a platform for purchasing Electronic Arts products, which has its local restrictions. Because of them, users in some countries are faced with the problem of buying games. Setting up a proxy server will help you bypass all blocking. It will change your IP address and "teleport" the device to another country where the purchase is allowed. Also with a proxy, you will be able to:
Therefore, to use the Origin platform safely and without restrictions, you need a proxy server.
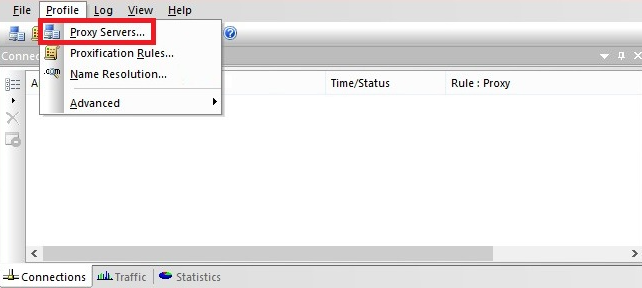
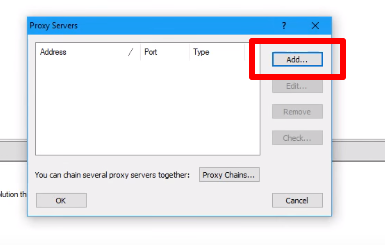
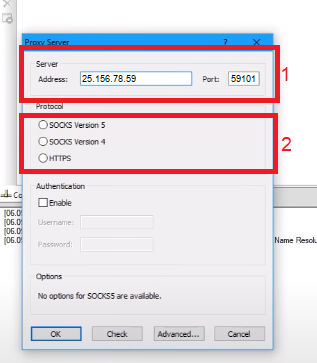
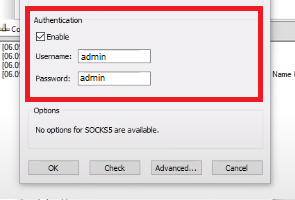
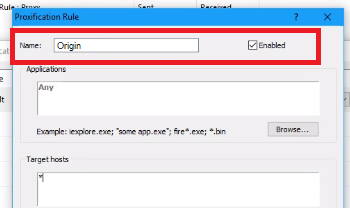
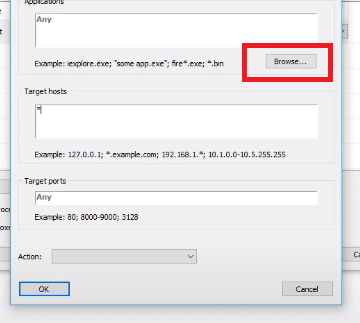
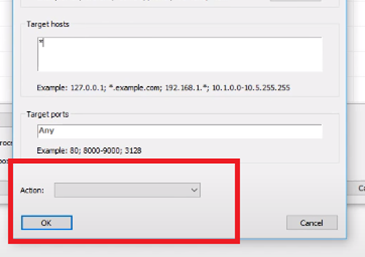
There are two ways to set up a proxy for Origin: through Windows settings and the optional Proxifier service. It will not be possible to install a proxy in Origin itself, since the system does not support the use of such tools to bypass restrictions.
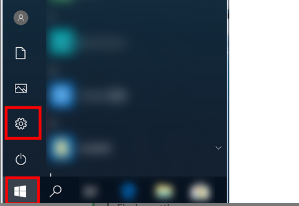
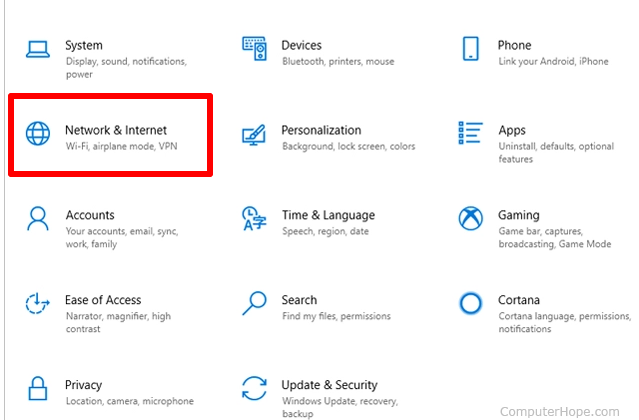
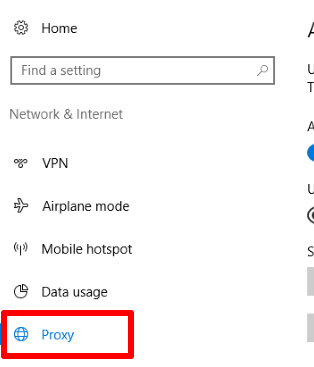
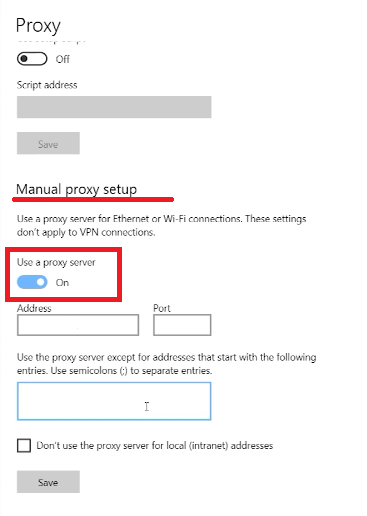
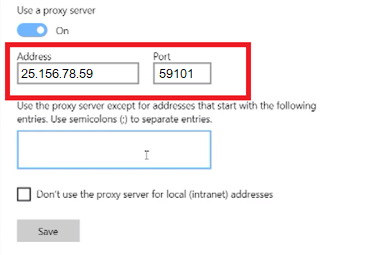
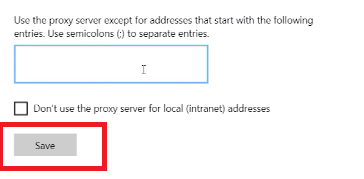
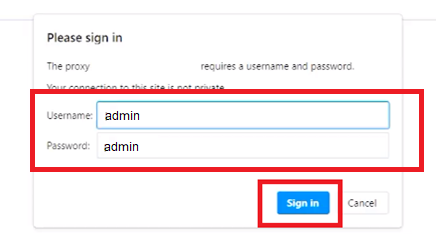
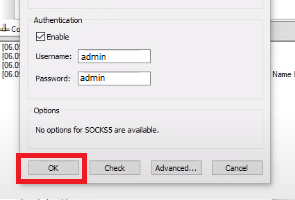
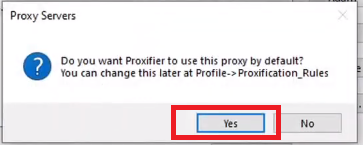
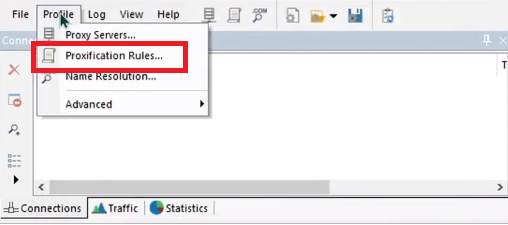
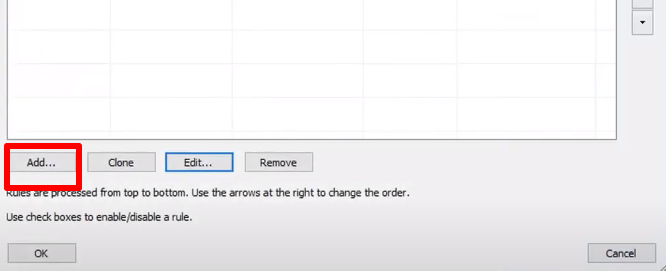
The disadvantage of this method is that the proxy will work for all programs and browsers on the device. If you want to set up a proxy exclusively for Origin, then you need to download Proxifier and follow the instructions below.
