IPv4
From $0.70 for 1 pc. 40 countries to choose from, rental period from 7 days.
IPv4
From $0.70 for 1 pc. 40 countries to choose from, rental period from 7 days.
IPv4
From $0.70 for 1 pc. 40 countries to choose from, rental period from 7 days.
IPv6
From $0.07 for 1 pc. 14 countries to choose from, rental period from 7 days.
ISP
From $1.35 for 1 pc. 21 countries to choose from, rental period from 7 days.
Mobile
From $14 for 1 pc. 14 countries to choose from, rental period from 2 days.
Resident
From $0.90 for 1 GB. 200+ countries to choose from, rental period from 30 days.
Use cases:
Use cases:
Tools:
Company:
About Us:
This is similar to the operation of a Wi-Fi access point when several computers connect to the same network, but CCProxy distributes not the Internet, but proxy servers. You can add or restrict access to specific sites, set opening hours, filter content, and more. Users who connect to the proxy will have all their settings saved.
CCProxy supports all major proxy servers, so you can choose any of them or several at once. The most reliable proxies are HTTP(s) and SOCKS.
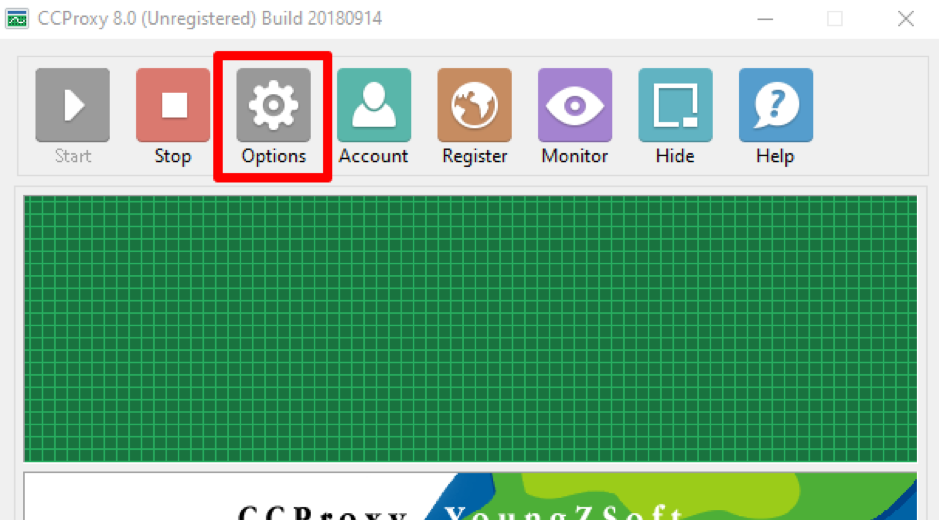
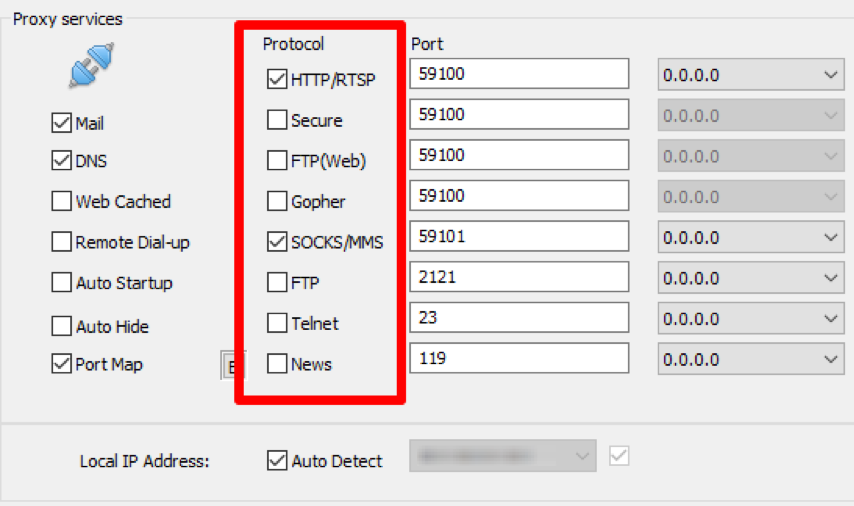
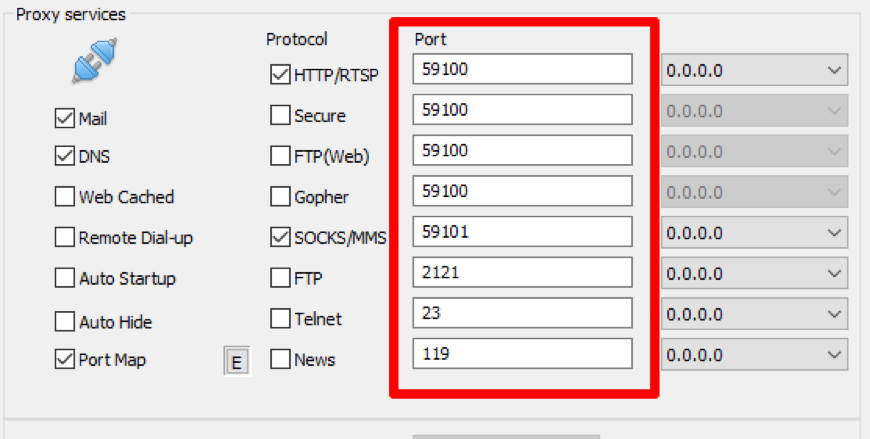
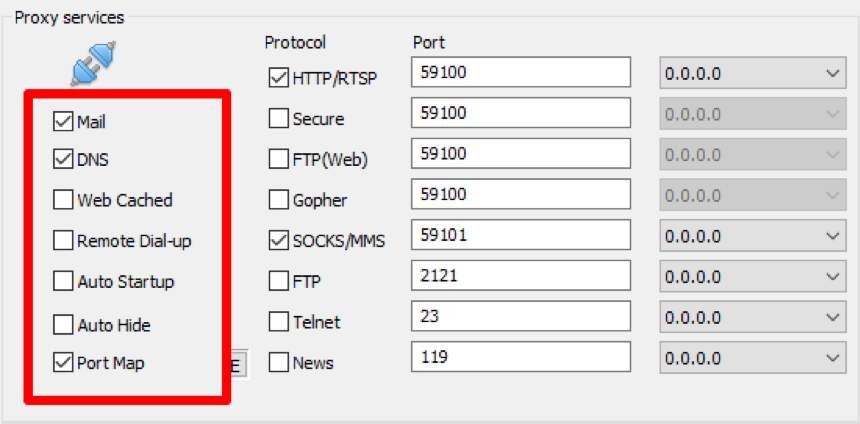
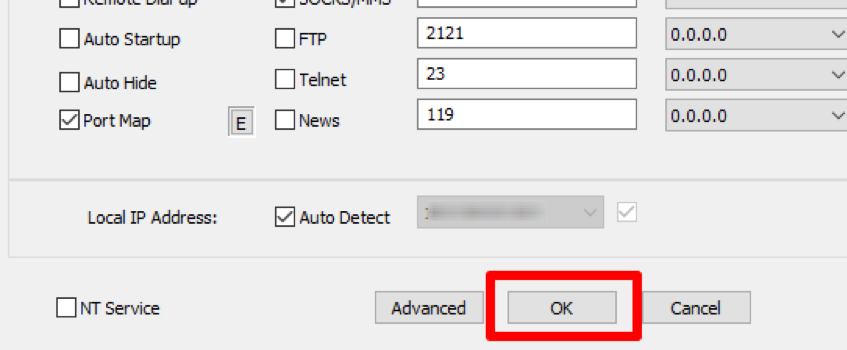
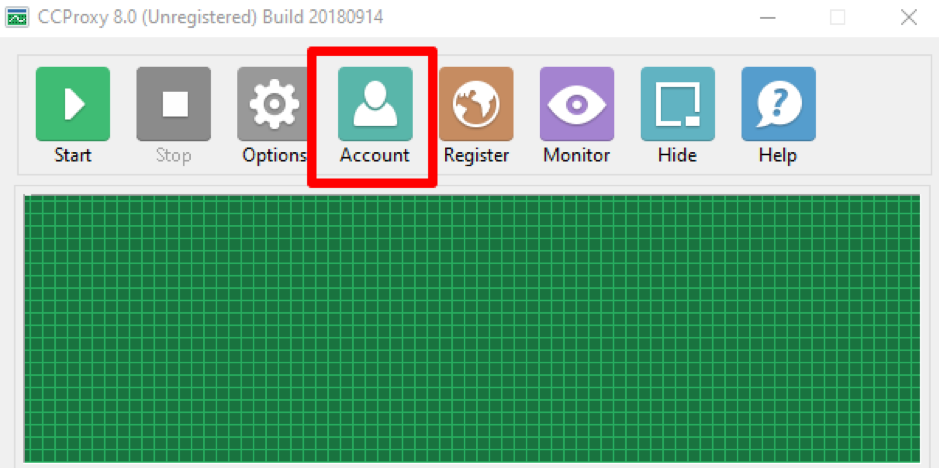
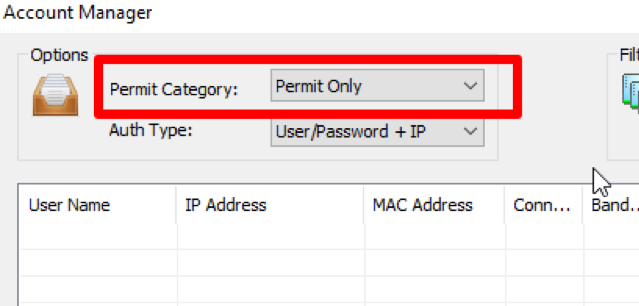
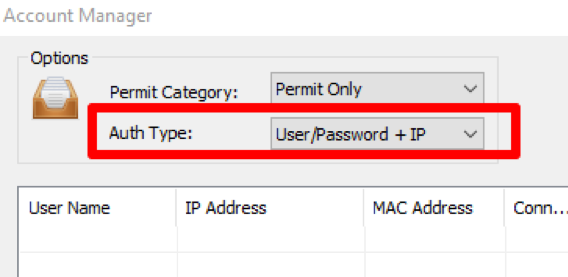
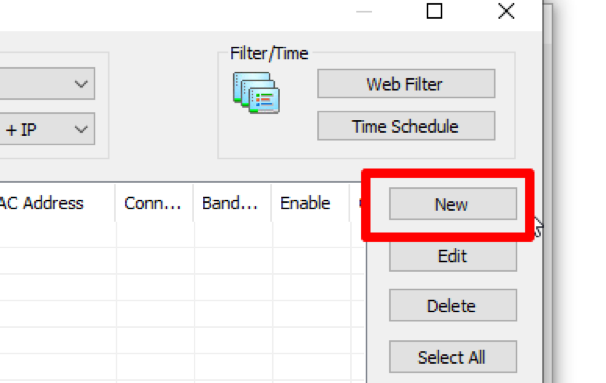
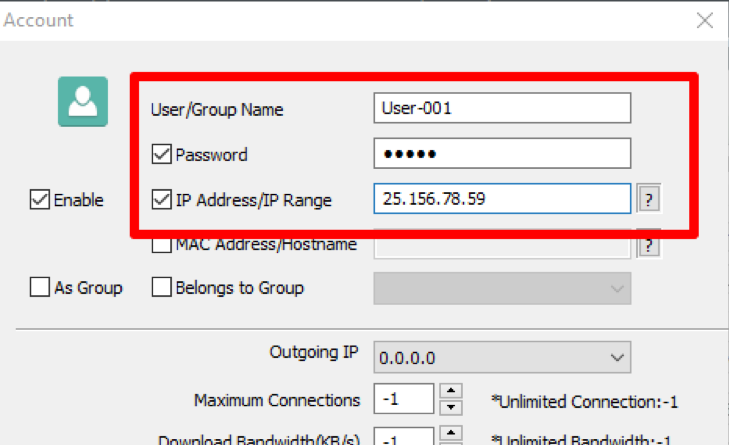
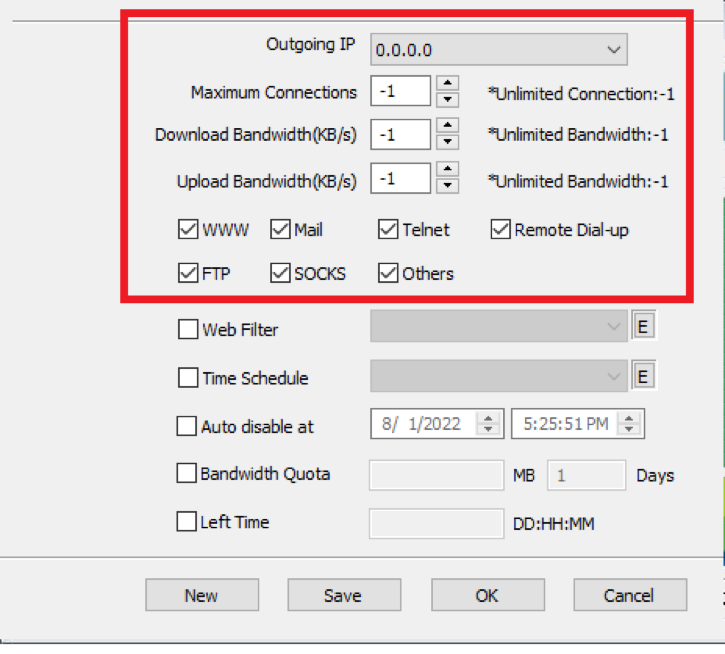
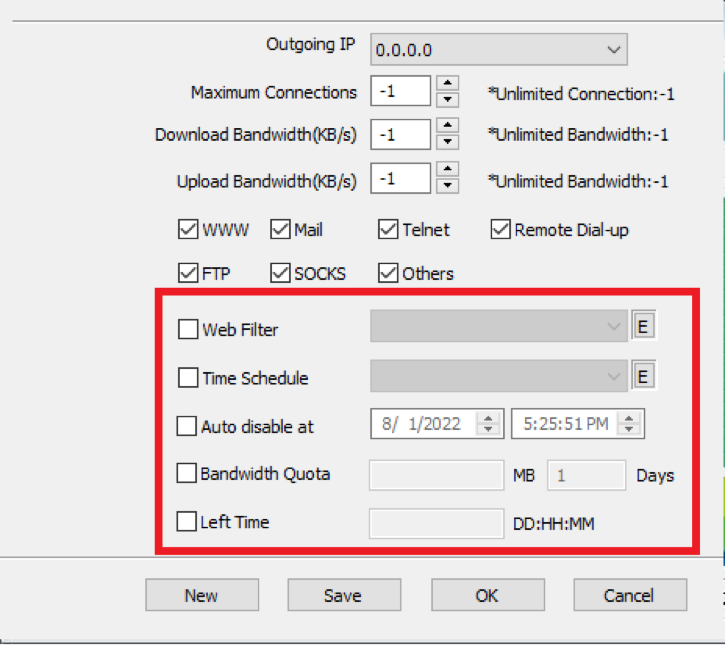
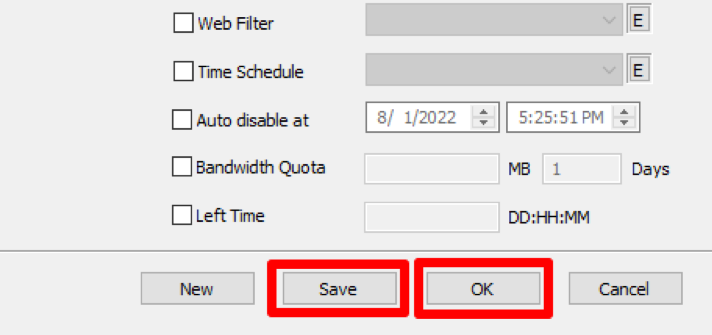
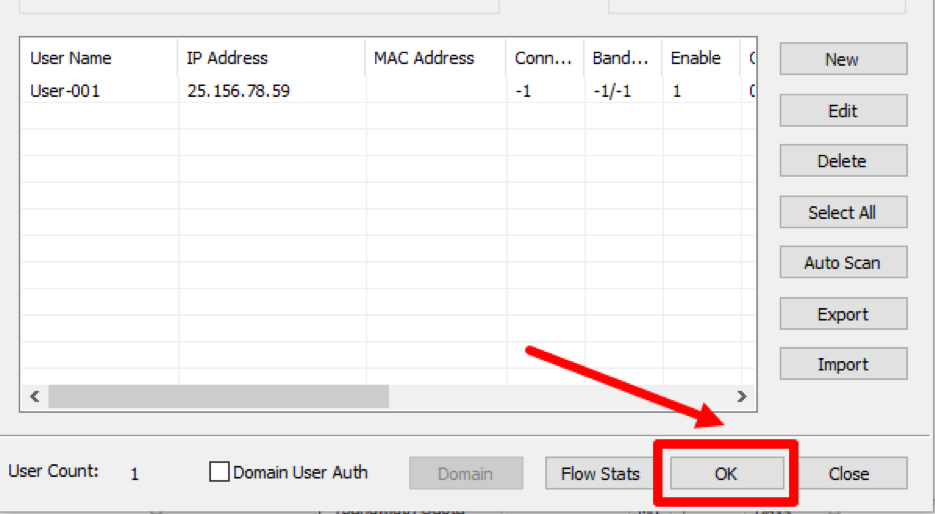
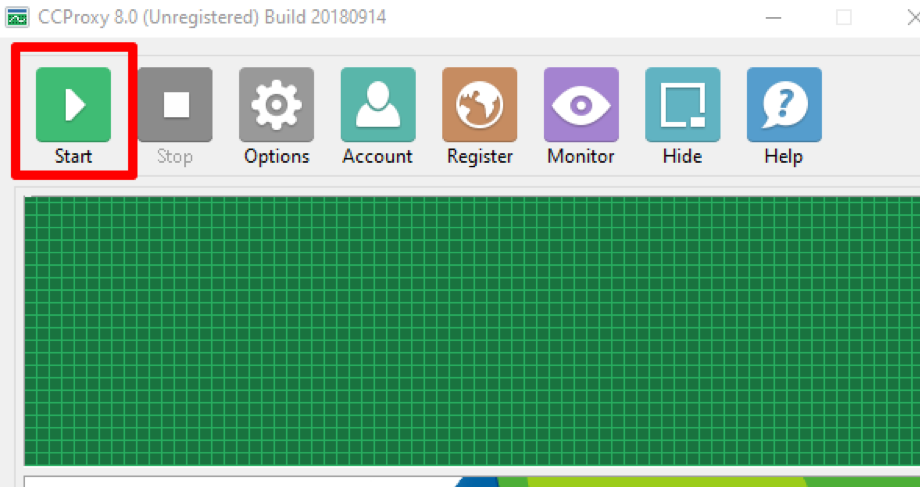
Now you know how to set up and share a proxy in CCProxy. This program will help you organize safe work, protect against hacking and install the necessary network filters.
