IPv4
From $0.70 for 1 pc. 41 countries to choose from, rental period from 7 days.
IPv4
From $0.70 for 1 pc. 41 countries to choose from, rental period from 7 days.
IPv4
From $0.70 for 1 pc. 41 countries to choose from, rental period from 7 days.
IPv6
From $0.07 for 1 pc. 14 countries to choose from, rental period from 7 days.
ISP
From $1.35 for 1 pc. 23 countries to choose from, rental period from 7 days.
Mobile
From $14 for 1 pc. 14 countries to choose from, rental period from 2 days.
Resident
From $0.90 for 1 GB. 200+ countries to choose from, rental period from 30 days.
Use cases:
Use cases:
Tools:
Company:
About Us:
Shadowrocket is an application designed for managing and connecting to proxy servers on iOS devices, including iPhones and iPads. It is primarily utilized for circumventing internet censorship, accessing region-restricted content, and enhancing privacy by directing internet traffic through a secure, encrypted connection. To leverage this application effectively for your specific needs, configuring certain proxy settings is essential.
To set up a proxy in Shadowrocket on iOS, follow these steps:
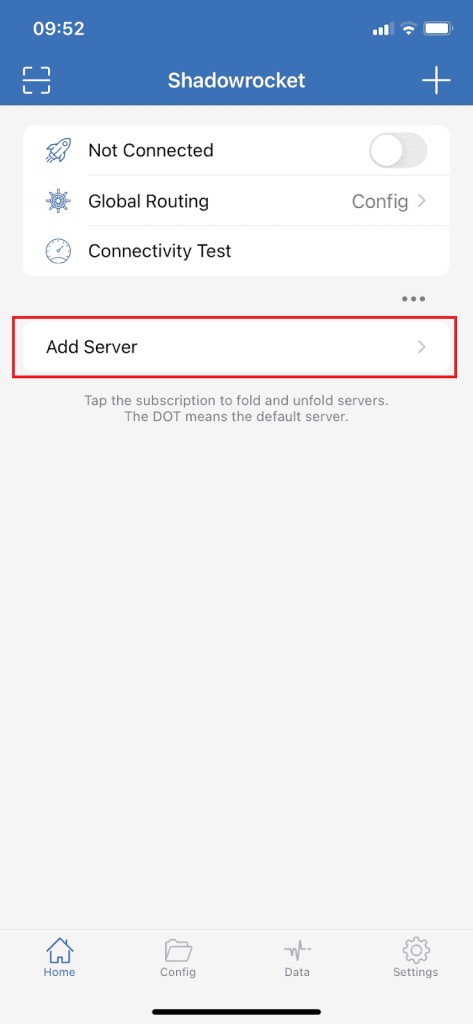
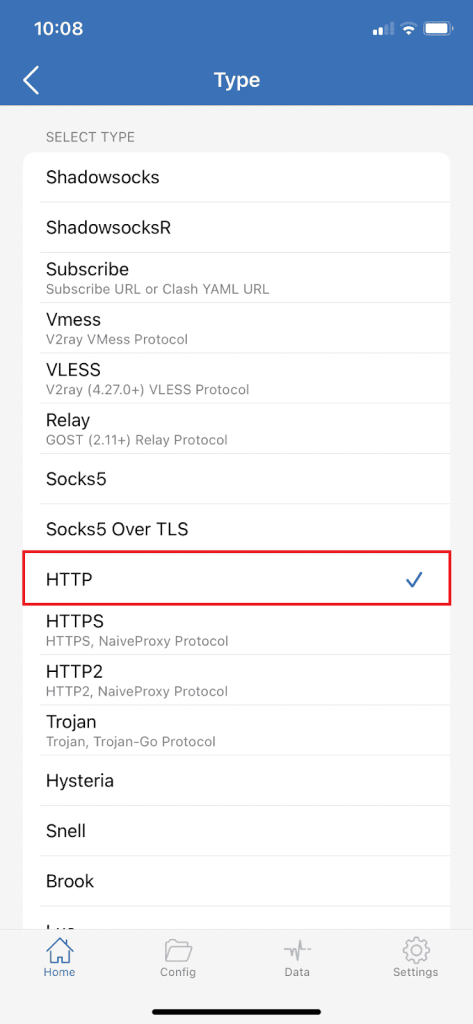
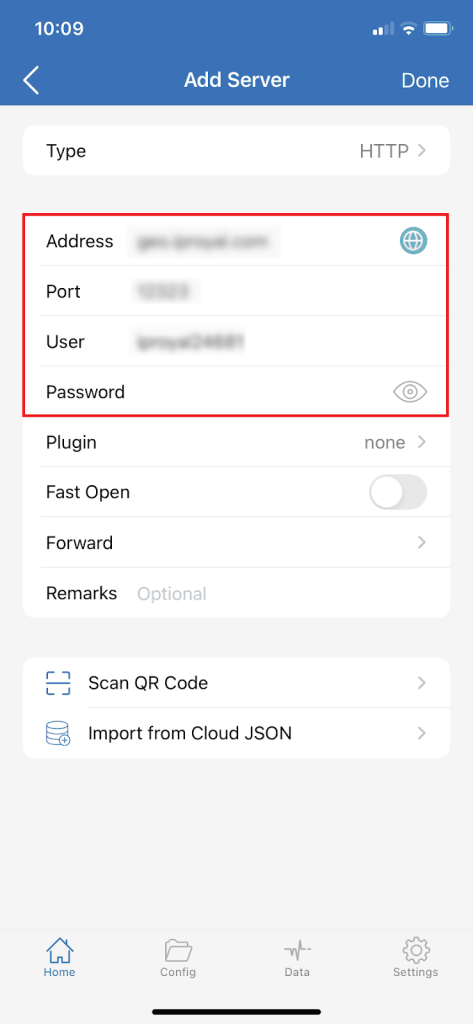
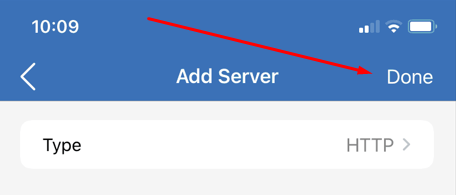
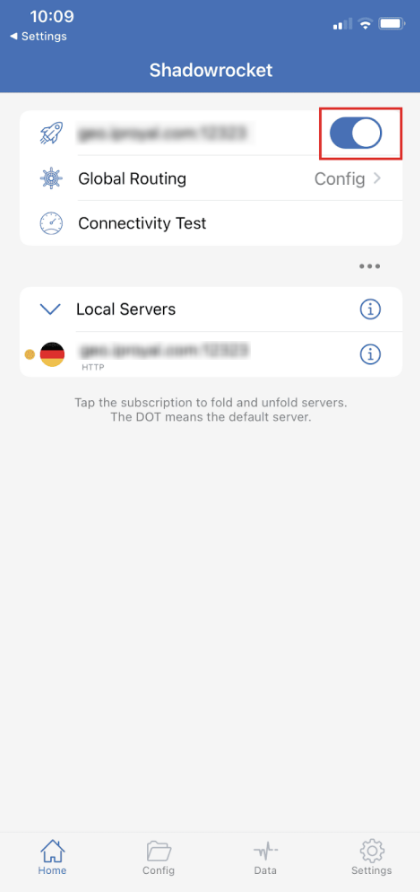
By completing these steps, your traffic will be channeled through the newly configured proxy. This allows for anonymous internet surfing, access to previously blocked resources, viewing of censored content, and other activities requiring a proxy.
