IPv4
From $0.70 for 1 pc. 41 countries to choose from, rental period from 7 days.
IPv4
From $0.70 for 1 pc. 41 countries to choose from, rental period from 7 days.
IPv4
From $0.70 for 1 pc. 41 countries to choose from, rental period from 7 days.
IPv6
From $0.07 for 1 pc. 14 countries to choose from, rental period from 7 days.
ISP
From $1.35 for 1 pc. 24 countries to choose from, rental period from 7 days.
Mobile
From $14 for 1 pc. 14 countries to choose from, rental period from 2 days.
Resident
From $0.90 for 1 GB. 200+ countries to choose from, rental period from 30 days.
Use cases:
Use cases:
Tools:
Company:
About Us:
Using a proxy with Remote Desktop Protocol - RDP enables anonymous access to a remote desktop, allowing safe internet usage from another computer. This setup ensures that neither the internet service provider nor websites can track user activity or link it to a specific computer. Therefore, understanding how to enhance RDP security through proxy integration is essential before getting started.
To set up RDP with a proxy for secure and anonymous remote access through Windows, follow these steps.
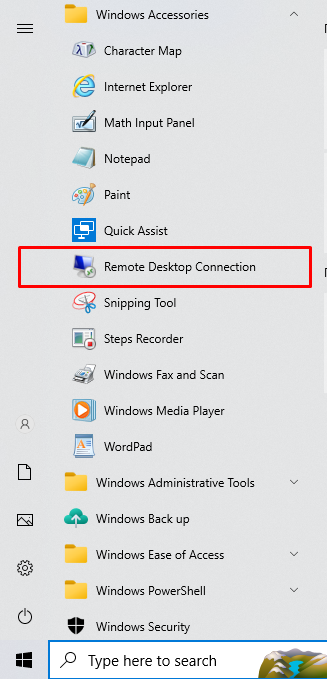
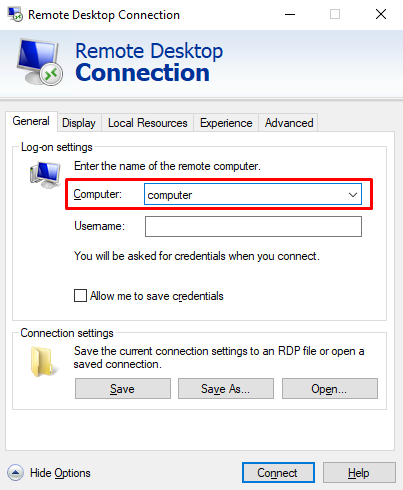
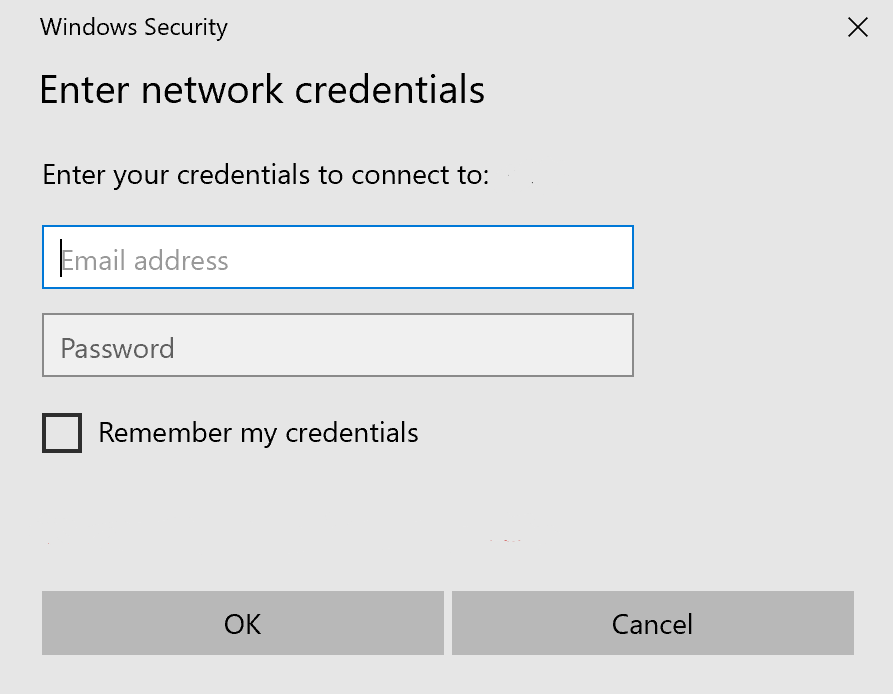
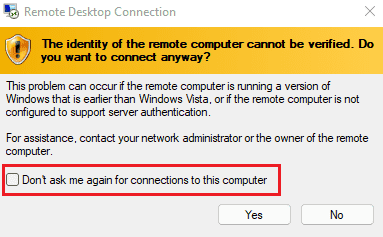
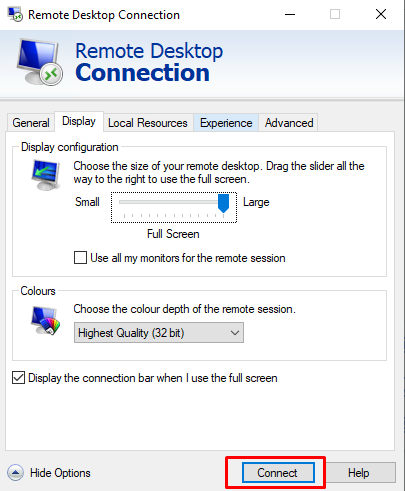
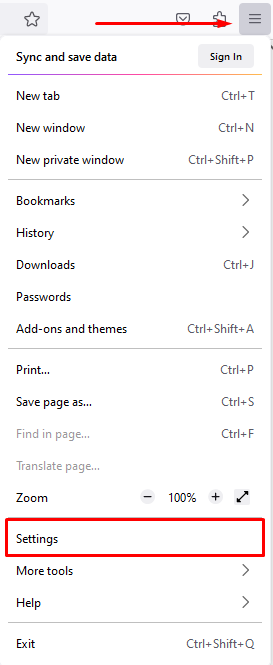

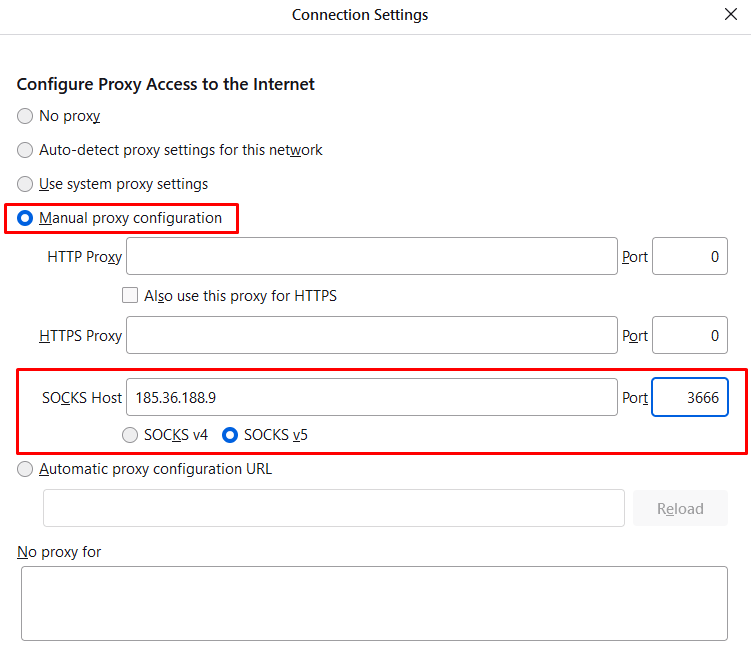
With these steps, you can securely and anonymously access the Internet from a remote computer via RDP. RDP ensures a secure connection, and when combined with a proxy in Windows, it provides complete anonymity and reliable data encryption for remote control.
