IPv4
From $0.70 for 1 pc. 40 countries to choose from, rental period from 7 days.
IPv4
From $0.70 for 1 pc. 40 countries to choose from, rental period from 7 days.
IPv4
From $0.70 for 1 pc. 40 countries to choose from, rental period from 7 days.
IPv6
From $0.07 for 1 pc. 14 countries to choose from, rental period from 7 days.
ISP
From $1.35 for 1 pc. 21 countries to choose from, rental period from 7 days.
Mobile
From $14 for 1 pc. 14 countries to choose from, rental period from 2 days.
Resident
From $0.90 for 1 GB. 200+ countries to choose from, rental period from 30 days.
Use cases:
Use cases:
Tools:
Company:
About Us:
Proxy SwitchyOmega is a popular free extension for managing proxy servers in the Google Chrome browser. It features an intuitive interface that allows users to switch between proxy servers with just one click. Users can also configure which sites should use IP proxy servers and which should not.
The setup for the plugin consists of two main parts: adding proxy servers to the extension and configuring the rules for using and switching between these proxies.
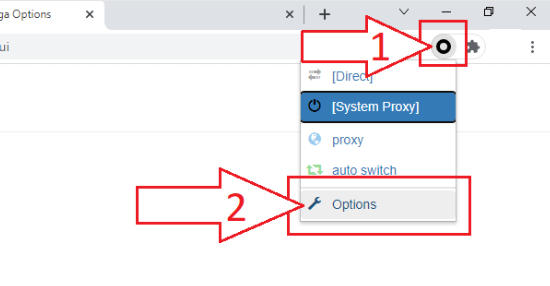

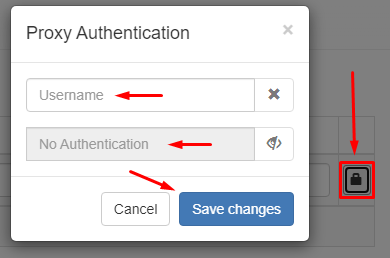
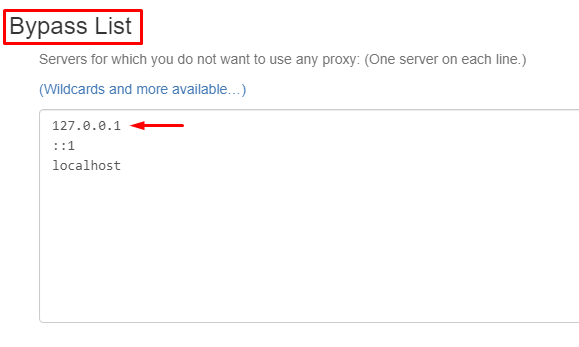
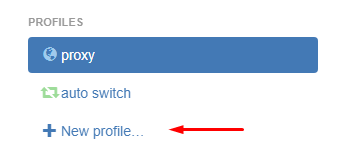
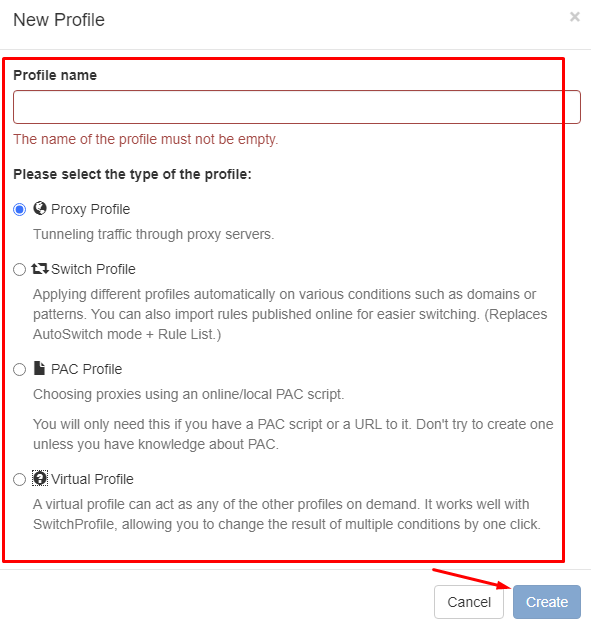
This tutorial outlines the basic setup for using proxies. Proxy SwitchyOmega is an advanced proxy extension that not only facilitates proxy configuration but also enables automatic switching between proxy servers based on predefined rules.
