IPv4
From $0.70 for 1 pc. 40 countries to choose from, rental period from 7 days.
IPv4
From $0.70 for 1 pc. 40 countries to choose from, rental period from 7 days.
IPv4
From $0.70 for 1 pc. 40 countries to choose from, rental period from 7 days.
IPv6
From $0.07 for 1 pc. 14 countries to choose from, rental period from 7 days.
ISP
From $1.35 for 1 pc. 21 countries to choose from, rental period from 7 days.
Mobile
From $14 for 1 pc. 14 countries to choose from, rental period from 2 days.
Resident
From $0.90 for 1 GB. 200+ countries to choose from, rental period from 30 days.
Use cases:
Use cases:
Tools:
Company:
About Us:
Browser extensions offer a convenient method for utilizing proxies. One popular choice for Chrome is Proxy SwitchySharp, which allows you to configure proxy profiles and manage IP addresses. It simplifies the process of changing network settings through a user-friendly control panel and supports automatic proxy switching.
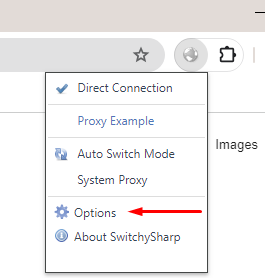
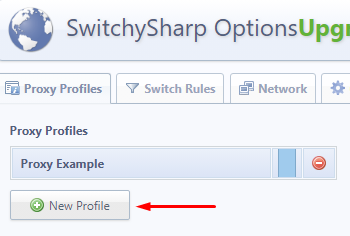
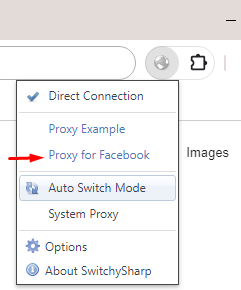
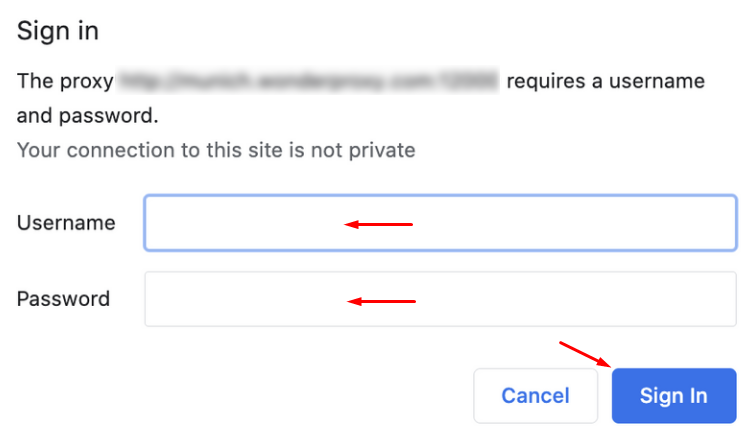
After installing the Proxy SwitchySharp extension, its icon will appear on the browser's top bar. To get started, click on it and follow these steps:


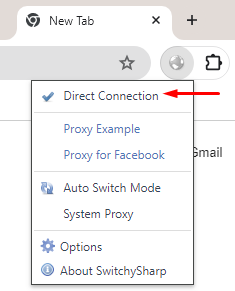
Using this Proxy SwitchySharp guide, you can easily set up proxies to bypass regional restrictions and access blocked resources. It also ensures anonymity online by hiding your real IP address, allowing you to perform various actions without the risk of IP blocking.
