IPv4
From $0.70 for 1 pc. 40 countries to choose from, rental period from 7 days.
IPv4
From $0.70 for 1 pc. 40 countries to choose from, rental period from 7 days.
IPv4
From $0.70 for 1 pc. 40 countries to choose from, rental period from 7 days.
IPv6
From $0.07 for 1 pc. 14 countries to choose from, rental period from 7 days.
ISP
From $1.35 for 1 pc. 21 countries to choose from, rental period from 7 days.
Mobile
From $14 for 1 pc. 14 countries to choose from, rental period from 2 days.
Resident
From $0.90 for 1 GB. 200+ countries to choose from, rental period from 30 days.
Use cases:
Use cases:
Tools:
Company:
About Us:
Although Ubuntu is not as popular as Windows or Mac OS, it is quite easy to use and suitable for any personal computer. Even for ordinary users, the anonymity and safety of their personal data are important. Unfortunately, Ubuntu cannot guarantee this to its users, so many people use proxy servers for complete security.
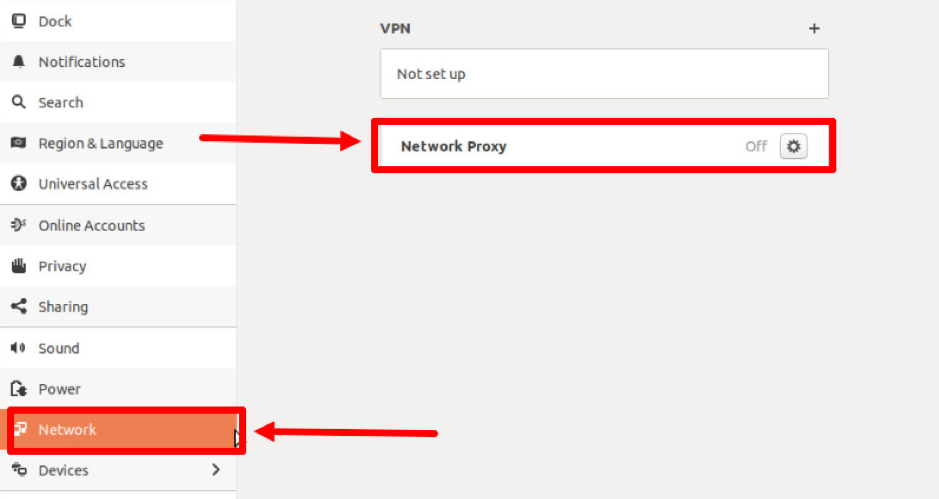
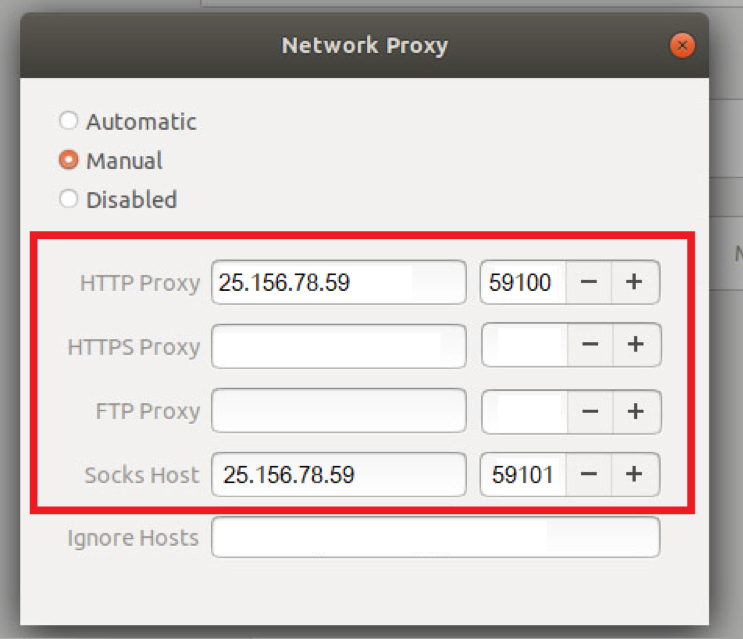
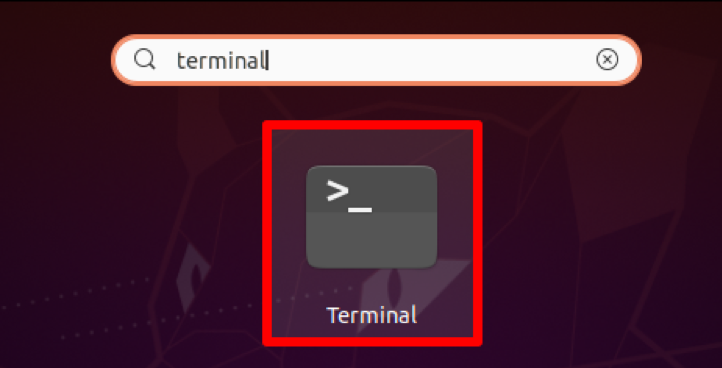
There are three ways to set up a proxy server for the OS: through Settings, through the Terminal, and for a specific program separately.
This method, unfortunately, will not work if you want to use a personal proxy server with authorization.


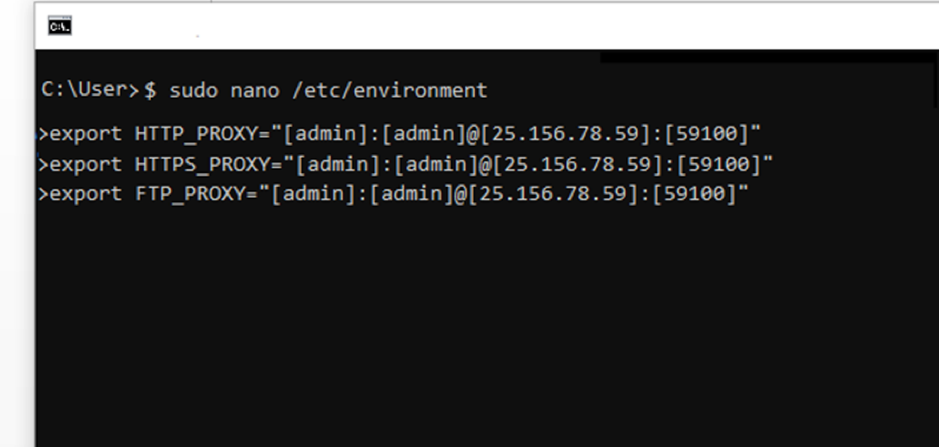
export HTTP_PROXY="[username]:[password]@[IP-address]:[port-number]"
export HTTPS_PROXY="[username]:[password]@[IP-address]:[port-number]"
export FTP_PROXY="[username]:[password]@ [IP-address]:[port-number]"
GOOGLE_CHROME="-proxy-server="[username]:[password]@ [IP-address]:[port-number]"
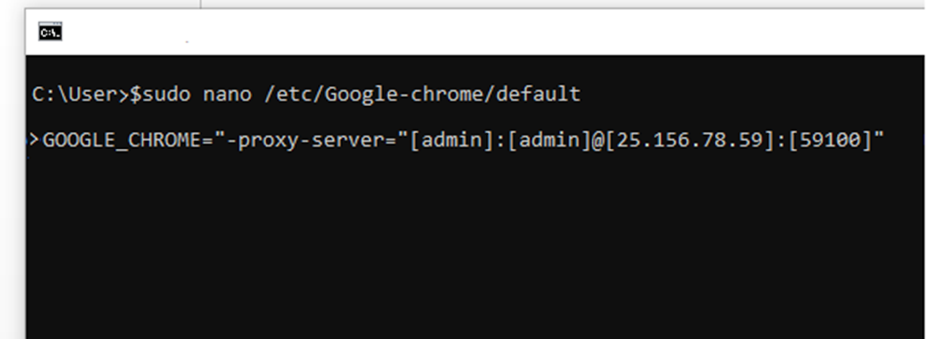
You have configured a proxy for Ubuntu! We recommend using the second or third configuration option and setting up a proxy server with authorization. Such personal proxies will reliably protect your data and ensure anonymity on the network.
