IPv4
From $0.70 for 1 pc. 40 countries to choose from, rental period from 7 days.
IPv4
From $0.70 for 1 pc. 40 countries to choose from, rental period from 7 days.
IPv4
From $0.70 for 1 pc. 40 countries to choose from, rental period from 7 days.
IPv6
From $0.07 for 1 pc. 14 countries to choose from, rental period from 7 days.
ISP
From $1.35 for 1 pc. 21 countries to choose from, rental period from 7 days.
Mobile
From $14 for 1 pc. 14 countries to choose from, rental period from 2 days.
Resident
From $0.90 for 1 GB. 200+ countries to choose from, rental period from 30 days.
Use cases:
Use cases:
Tools:
Company:
About Us:
Many Old School RuneScape (OSRS) players use special bots to get additional bonuses and complete difficult quests. Such bots give a certain advantage, which means they help to take the lead in the game.
One of the most popular bots is Runemate. With it, you can open a large number of treasures and simply save a lot of time and effort grinding in the game. But RuneMate does not guarantee complete security. The use of bots is considered cheating, and to prevent your account from being blocked, we recommend using a proxy.
The actions of players in OSRS are constantly monitored by a moderation system that can detect a bot (even such bot as RuneMate) and block your account. That is why you should use a proxy server with the bot.
A proxy will hide your IP address and location as well as protect your account from blocking. Bot actions with a proxy server will look organic as if all tasks are performed by a real person, not a program.
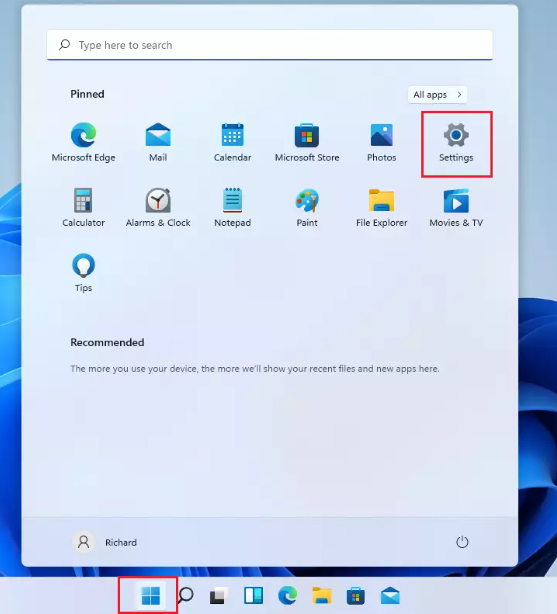
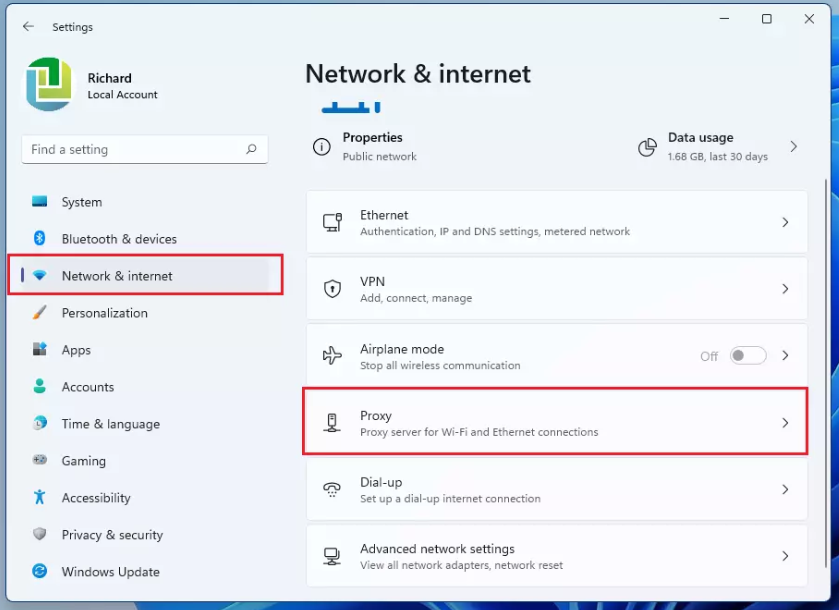
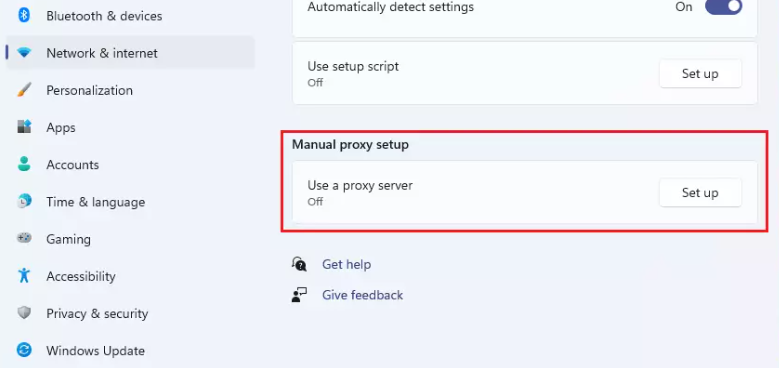
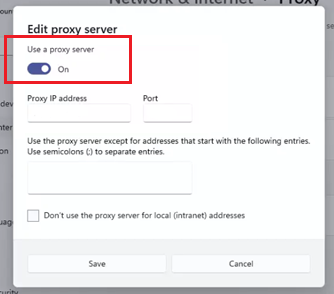
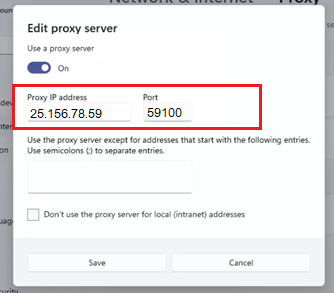
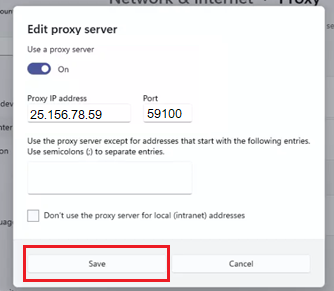
The new version of the bot does not have a built-in proxy setting function, so you can install it in two ways: through Proxifier and through Windows settings.
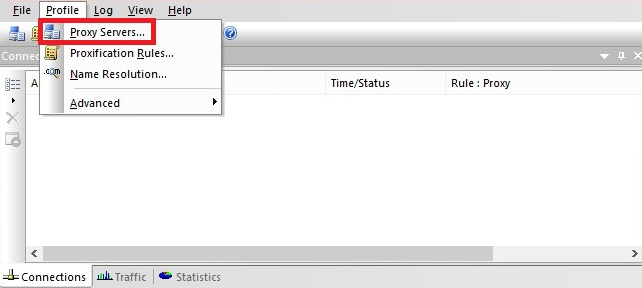
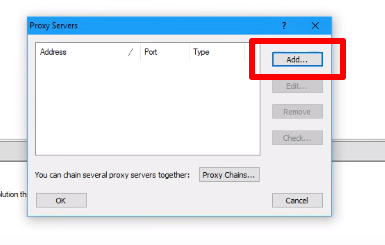
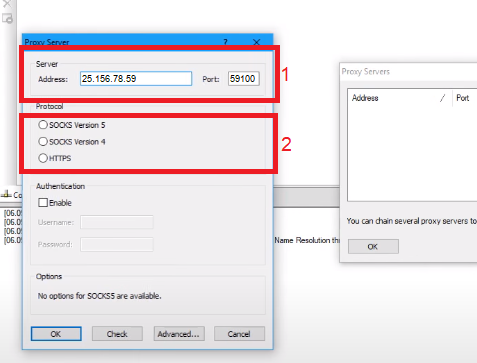
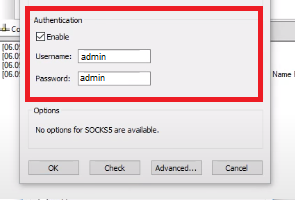
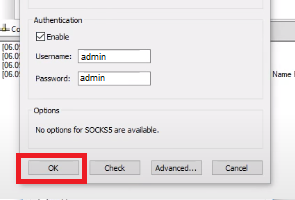
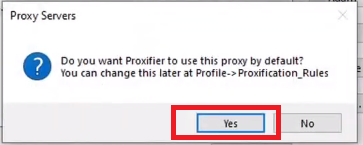
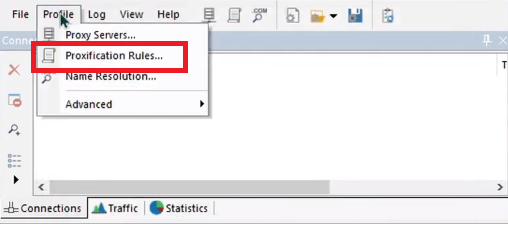
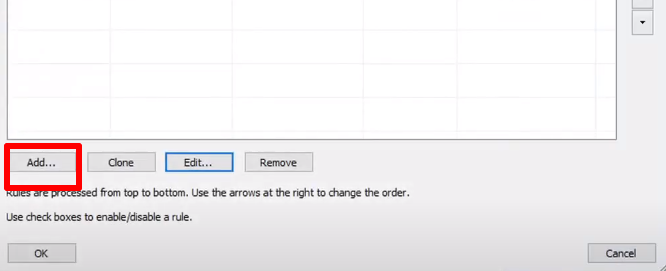
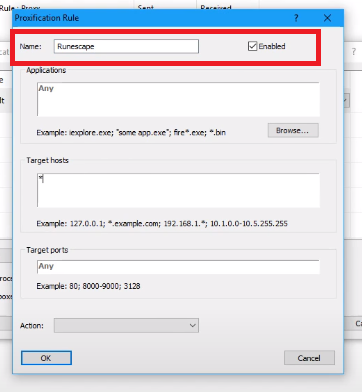
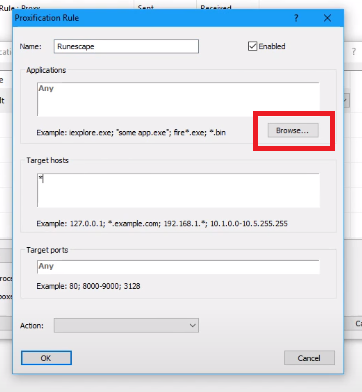
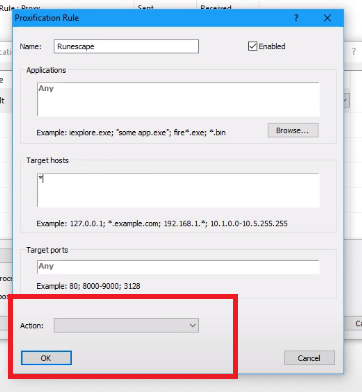
After this setting, the proxy will be used for all other programs and browsers.
