IPv4
From $0.70 for 1 pc. 48 countries to choose from, rental period from 7 days.
IPv4
From $0.70 for 1 pc. 48 countries to choose from, rental period from 7 days.
IPv4
From $0.70 for 1 pc. 48 countries to choose from, rental period from 7 days.
IPv6
From $0.07 for 1 pc. 14 countries to choose from, rental period from 7 days.
ISP
From $0.85 for 1 pc. 21 countries to choose from, rental period from 7 days.
Mobile
From $9 for 1 pc. 19 countries to choose from, rental period from 2 days.
Resident
From $2 for 1 GB. 200+ countries to choose from, rental period from 30 days.
Use cases:
Use cases:
Tools:
Company:
About Us:
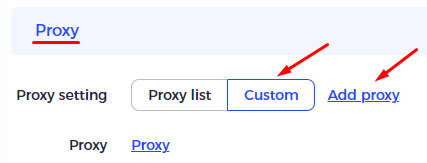
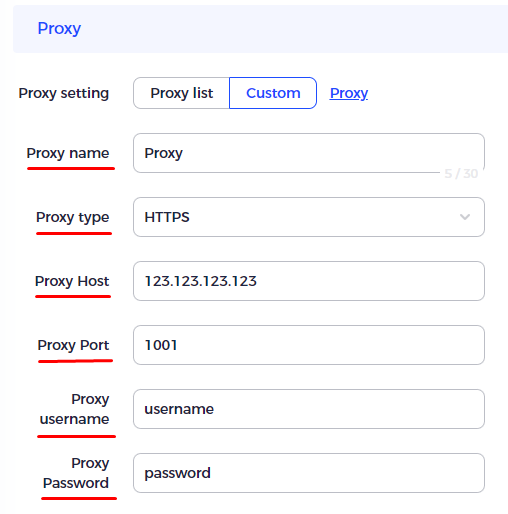
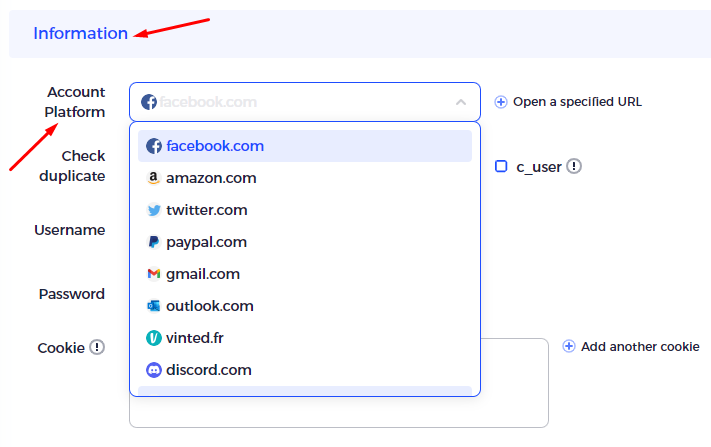
Maskfog's proxy server setup ensures unique, secure, and stable account usage without limits. It supports cookie import and offers a one-click transfer to Facebook, enhancing the efficiency of your virtual browser workflow with innovative automation. Maskfog is compatible with over twenty platforms, including TikTok, Amazon, and Twitter.
The software integrates seamlessly with Google Chrome, allowing each configured profile to open as a distinct 'browser' with its own pre-set configuration.


After these steps, a profile for using an account in the Maskfog virtual browser with a proxy server will be successfully created.
