IPv4
From $0.70 for 1 pc. 40 countries to choose from, rental period from 7 days.
IPv4
From $0.70 for 1 pc. 40 countries to choose from, rental period from 7 days.
IPv4
From $0.70 for 1 pc. 40 countries to choose from, rental period from 7 days.
IPv6
From $0.07 for 1 pc. 14 countries to choose from, rental period from 7 days.
ISP
From $1.35 for 1 pc. 21 countries to choose from, rental period from 7 days.
Mobile
From $14 for 1 pc. 14 countries to choose from, rental period from 2 days.
Resident
From $0.90 for 1 GB. 200+ countries to choose from, rental period from 30 days.
Use cases:
Use cases:
Tools:
Company:
About Us:
Octo Browser is a convenient multifunctional browser with a high level of anonymity. With it, you can create and manage many accounts at once in social networks, exchanges, and other web resources. Octo Browser is suitable for scraping - multi-threaded data collection and analysis.
Proxy servers will provide additional anonymity working with the browser. It is very important to have a package of high-quality proxies when working with a large number of accounts because if you access profiles from one IP address, you will be easily blocked. But if you assign 1 proxy per 1 account, each of them will have its IP address, and this will help you avoid blocking.
The browser supports the main types of proxies: http, https, socks5, and ssh. We will show you two ways to set it up: when creating a new account and through the Proxy Manager.

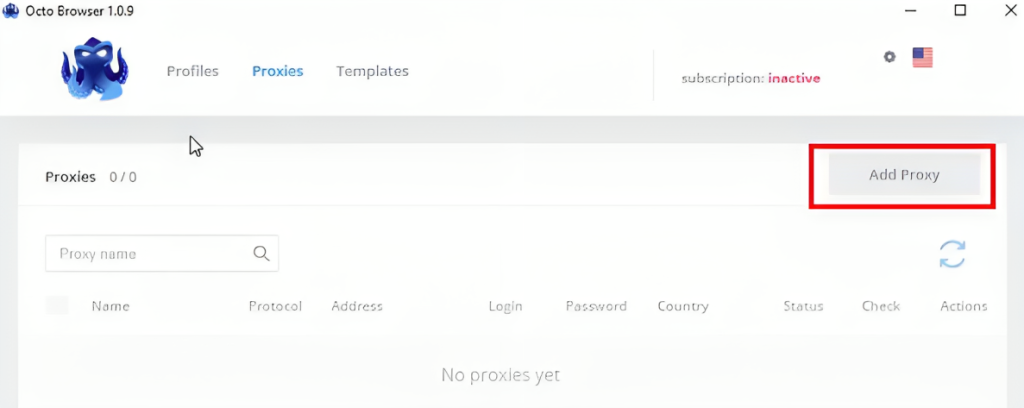
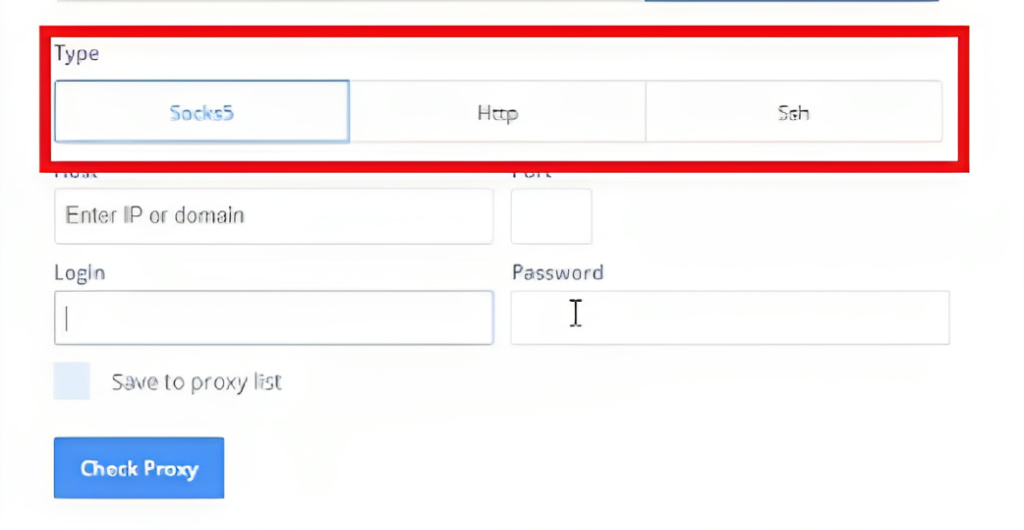
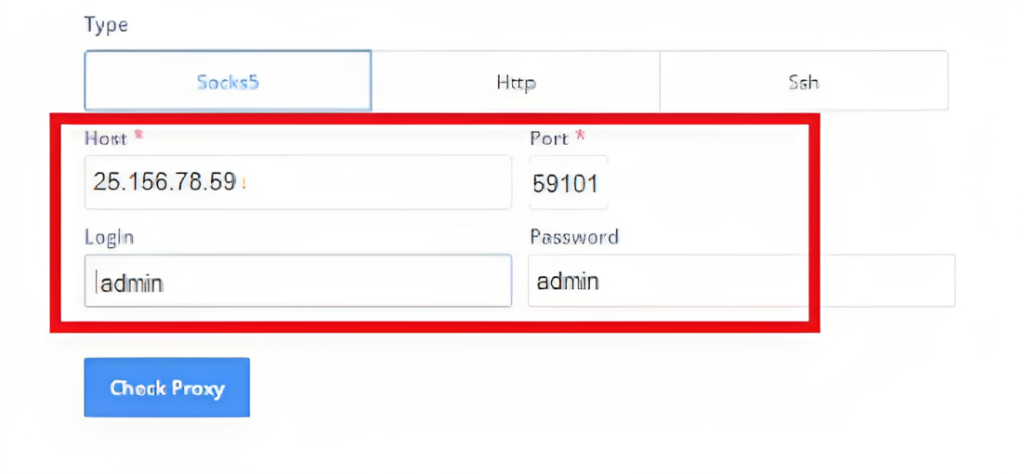
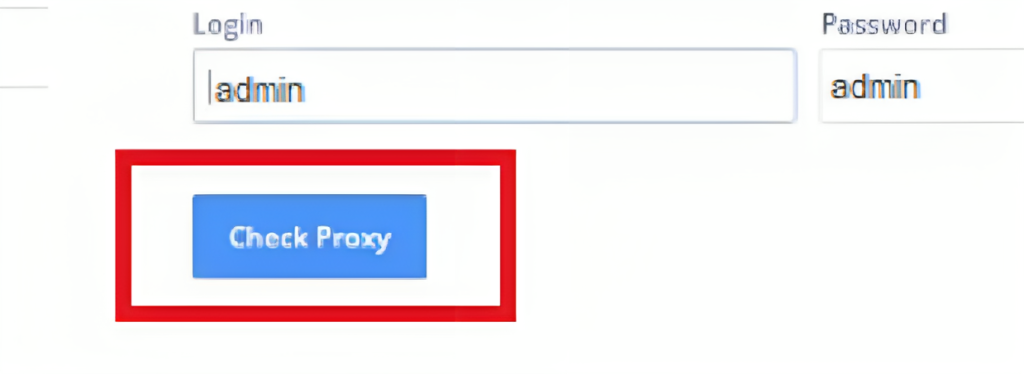
Now let's look at how to add a proxy server for a specific account:

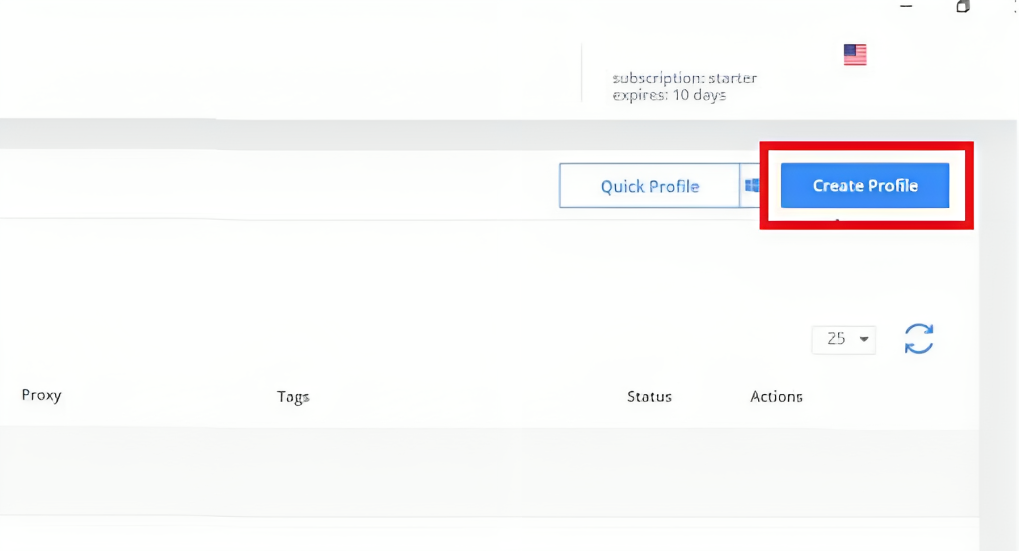

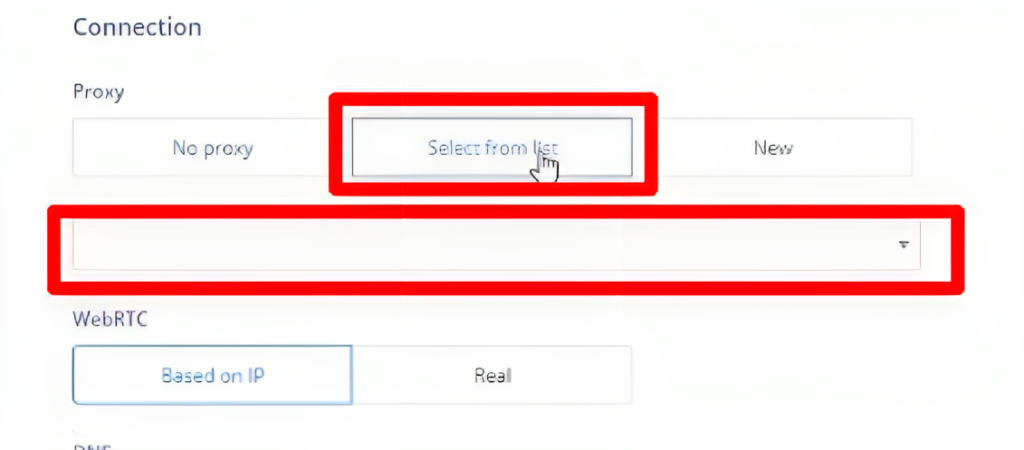
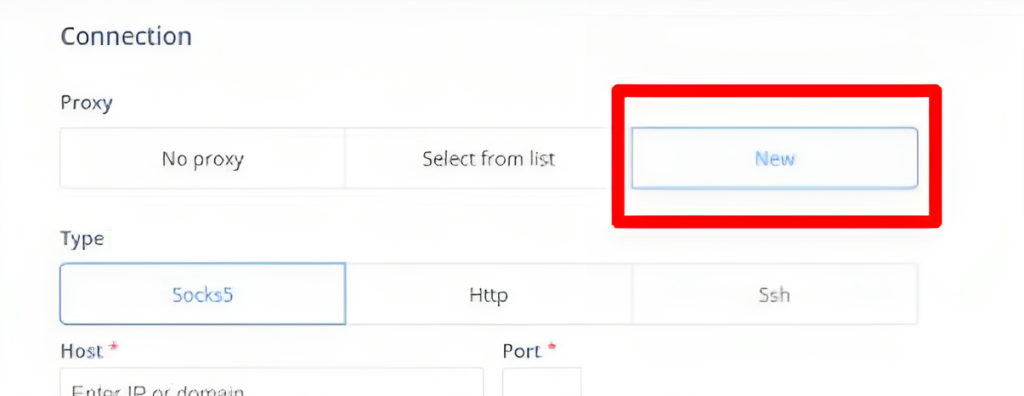
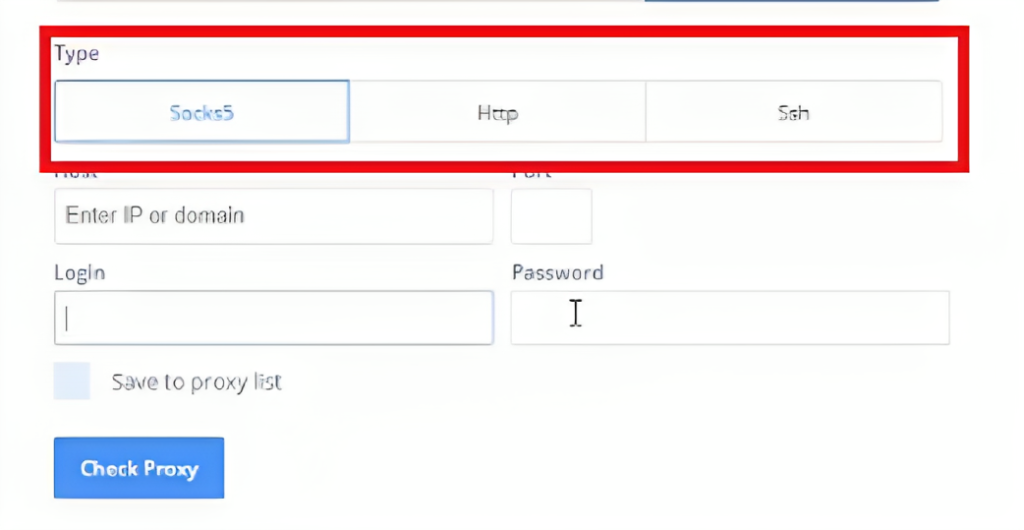
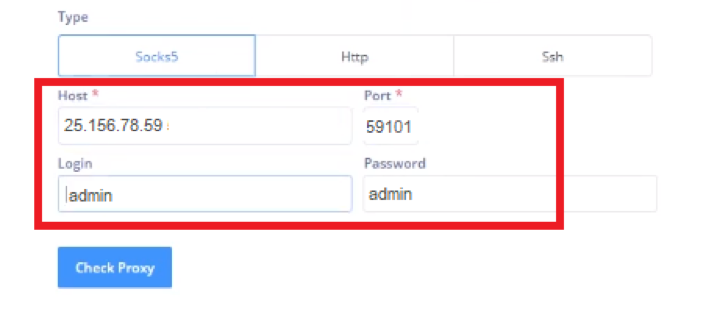


You have configured a proxy for Octo Browser! When choosing servers, we recommend giving preference to private proxies that will belong only to you and will reliably protect your accounts. With free proxy servers, the risk of being blocked will only increase, and other connection problems may arise. Remember that online security is the key to the successful promotion of your business.
