2219 views

Proxy settings tutorial in Google Chrome

Video tutorial for proxy configuration in Google Chrome

How to set up a proxy in Chrome

Setting up a proxy for the Chrome browser will take you just a couple of minutes. The first step is to clear the history and cache - this will provide a higher level of protection. For this:
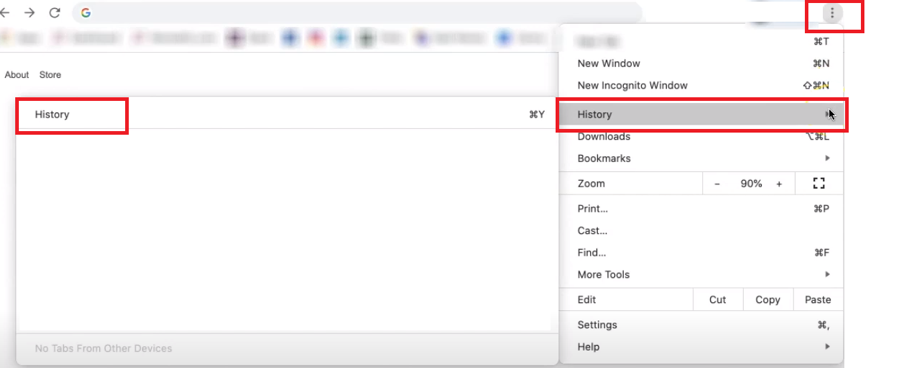
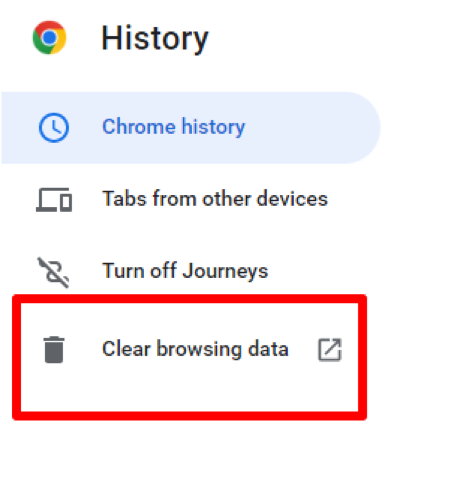
  1. In the browser, go to the menu in the upper right corner, hover over "History" and go to the section with the same name "History".
  2. content-img.png

  3. On the left, click on the inscription "Clear Browser Data".
  4. content-img.png

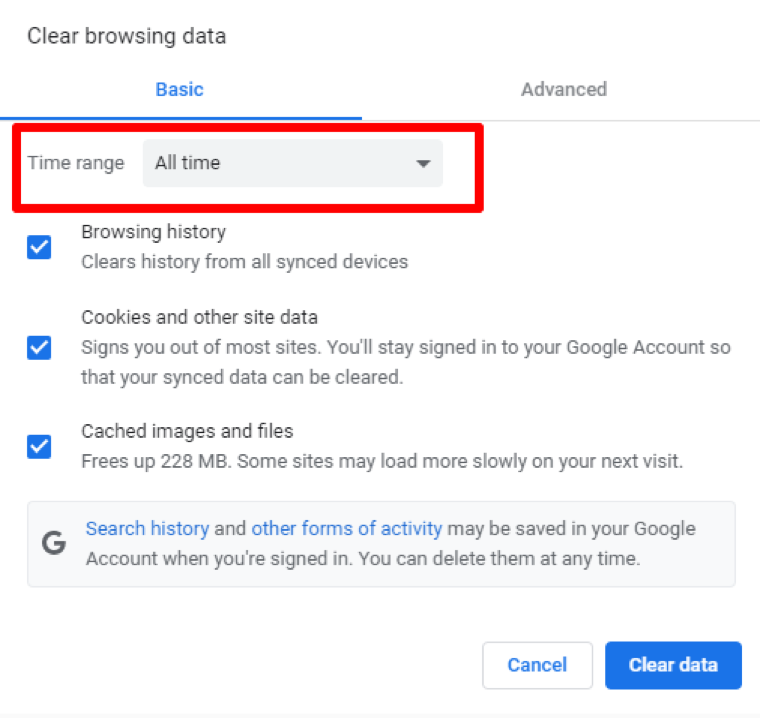
  5. Select "All Time" and check all boxes.
  6. content-img.png

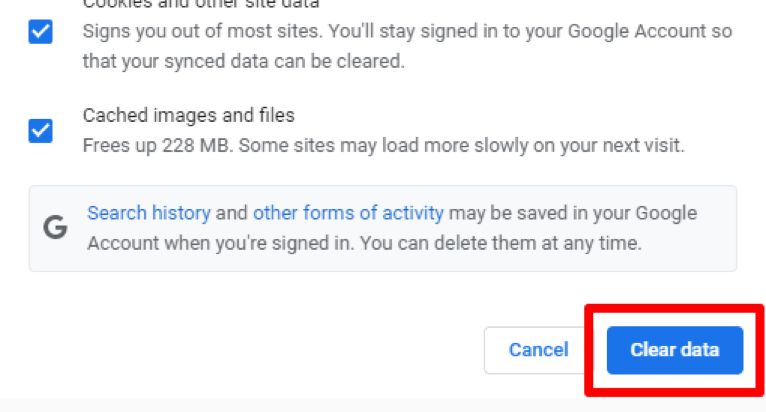
  7. Click on the "Clear Data" button and the history will be deleted.
  8. content-img.png

Now let's move on to the proxy configuration.
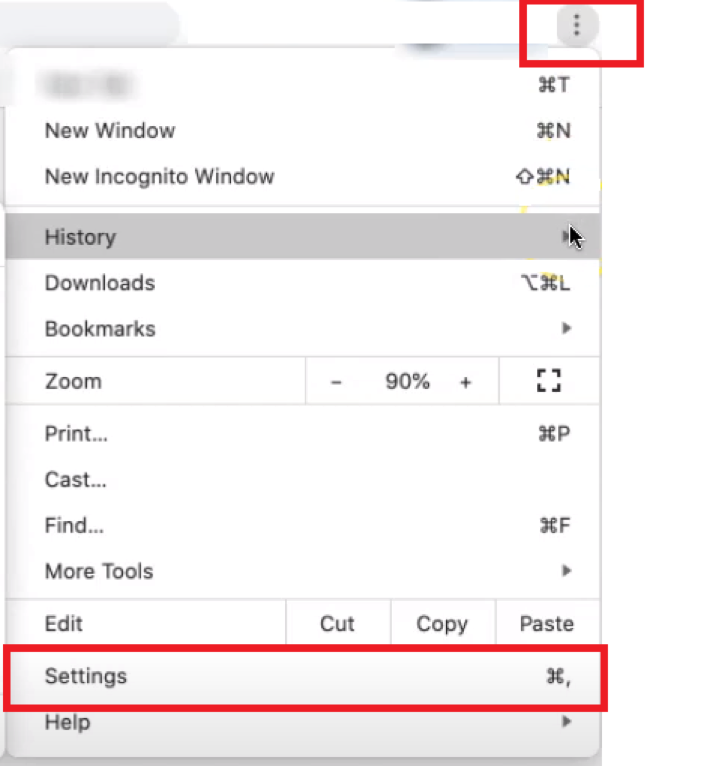
  1. Open a browser.
  2. Go to the menu in the upper right corner and select "Settings" from the list.
  3. content-img.png

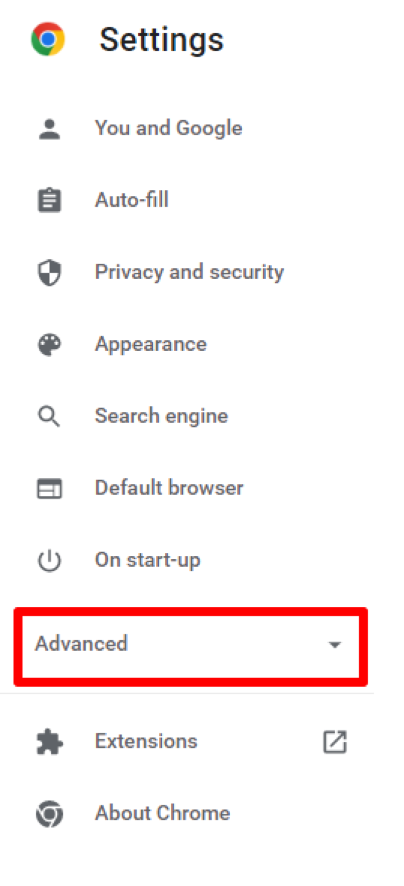
  4. On the sidebar, open advanced settings by clicking on "Advanced".
  5. content-img.png

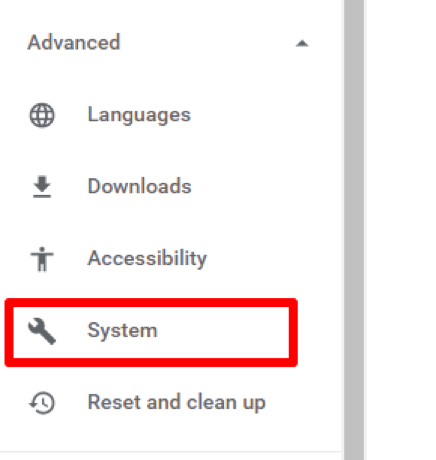
  6. Select the "System" category.
  7. content-img.png

  8. Click on "Open your computer's proxy settings".
  9. content-img.png

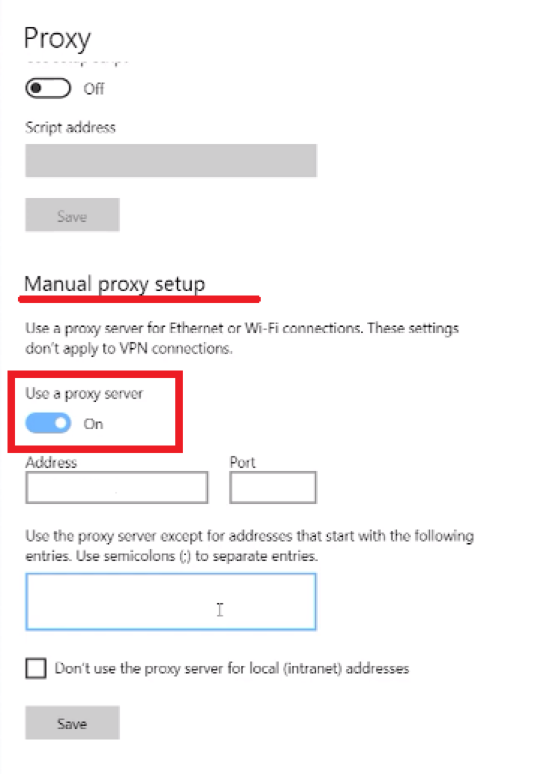
  10. Windows settings will open. In the “Manual proxy setup” section, move the slider to On.
  11. content-img.png

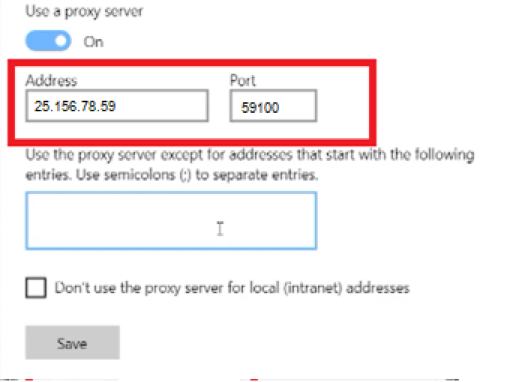
  12. Enter your proxy server details: IP address and port.
  13. content-img.png

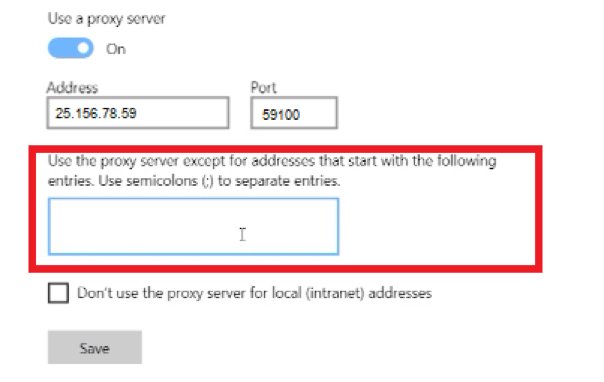
  14. In this field, you can specify exception sites for which proxies will not work.
  15. content-img.png

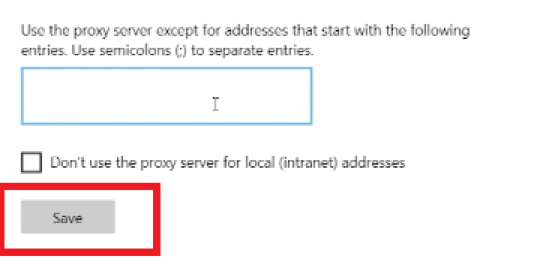
  16. Click on the "Save" button.
  17. content-img.png

How to set up a proxy in Chrome through Windows settings

This method allows you to set the type of protocol you are using for proxy in Chrome. It will also come in handy if you want to apply multiple proxies at once.
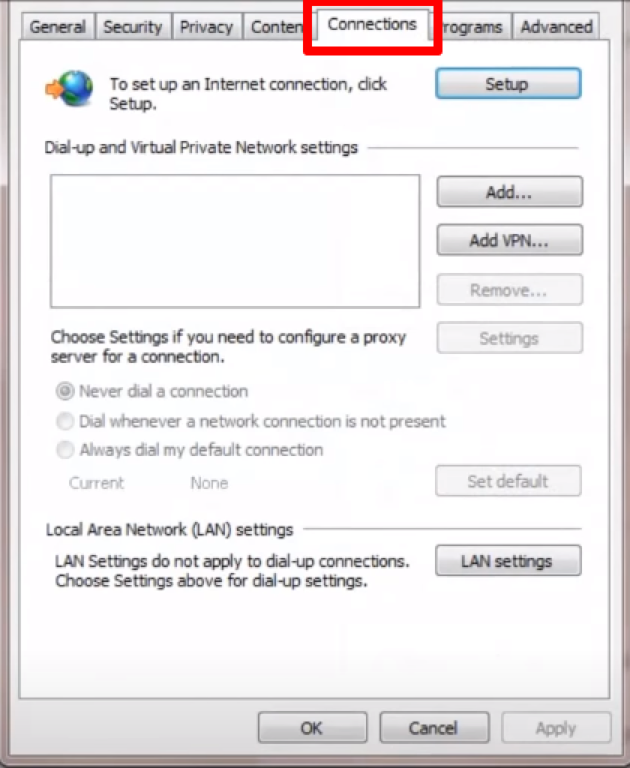
  1. In Windows Settings, type "Browser Properties" (Internet Properties) in the search bar.
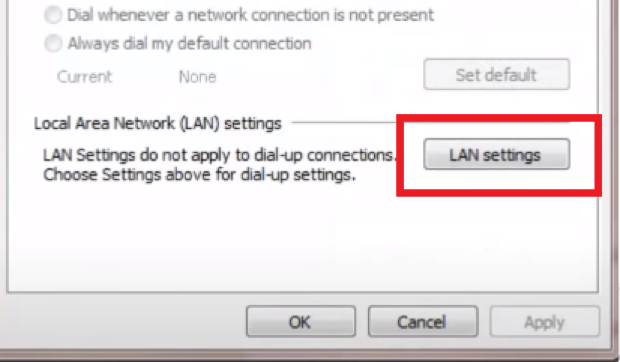
  2. Go to the "Connection" section and select "LAN Settings".
  3. content-img.png

    content-img.png

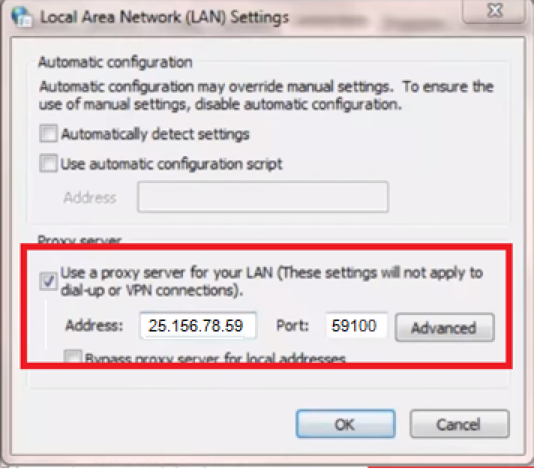
  4. Check the box next to “Use a proxy server for your LAN” and enter the IP address and port of your proxy server in the required fields.content-img.png
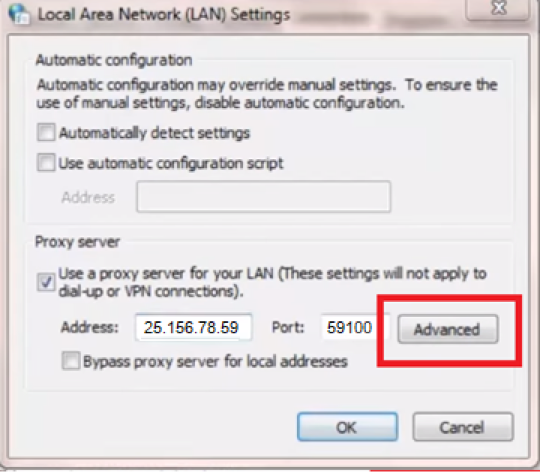
  5. Click on the "Advanced" button.
  6. content-img.png

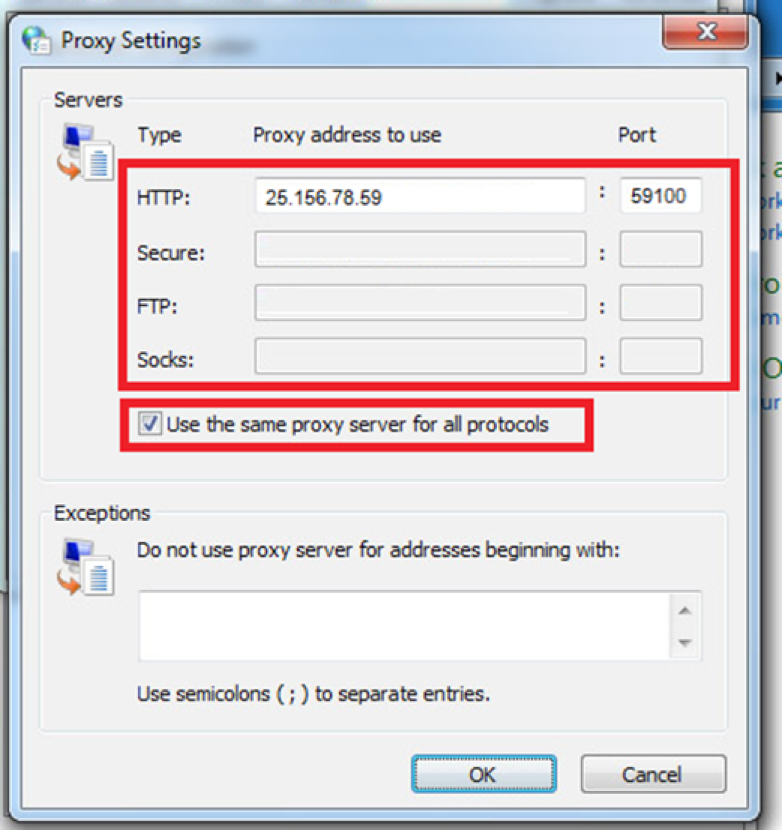
  7. Now you can specify the proxy protocol type. Enter the proxy details for each type (if you have multiple proxies), or select your type.
  8. content-img.png

  9. Click "OK" and exit the settings - you're ready to go!
  10. content-img.png

How to disable proxy in Chrome

To disable or change the proxy in Google Chrome, you need to do almost the same as during installation.
  1. In the browser, go to Menu - Settings - "Advanced" - "System" - "Open your computer's proxy settings".
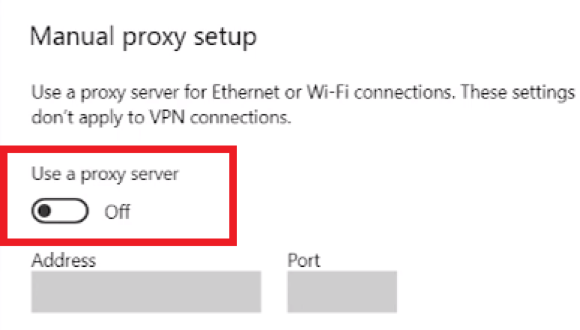
  2. Windows Settings will open. In the “Manual proxy settings” section, move the slider to Off.
  3. content-img.png

  4. Click "Save" and exit the settings. You just have disabled the proxy!

Now you know how to add a proxy to the Google Chrome browser in two ways. But we want to draw your attention: the proxy will perform all its functions only if you have bought a high-quality personal proxy server. Then you can surf the Internet without any problems and not be afraid of blocking, hacking, or other security issues.