1311 views

How to use proxy in Ghost Browser

Ghost Browser gives you the ability to create multiple tabs at the same time with different systems on each. On each tab, you can access the same sites and social networks from different accounts and not be afraid that you will be blocked. This is a handy tool for Internet marketers, programmers, SMM managers, and gambling players.

But to get the full benefits of Ghost Browser without the risks of blocking, we recommend setting up a proxy server. With a proxy you will be able to:
  • Assign a personal IP address to each tab. Then everything will look like a real person from different parts of the world is sitting behind each account. This will greatly reduce the chance of getting banned.
  • Expand your audience by reaching more countries.
  • Bypass regional or local restrictions.

Video tutorial for proxy configuration in Ghost Browser

Proxy settings in Ghost Browser

  1. Install and open a browser.
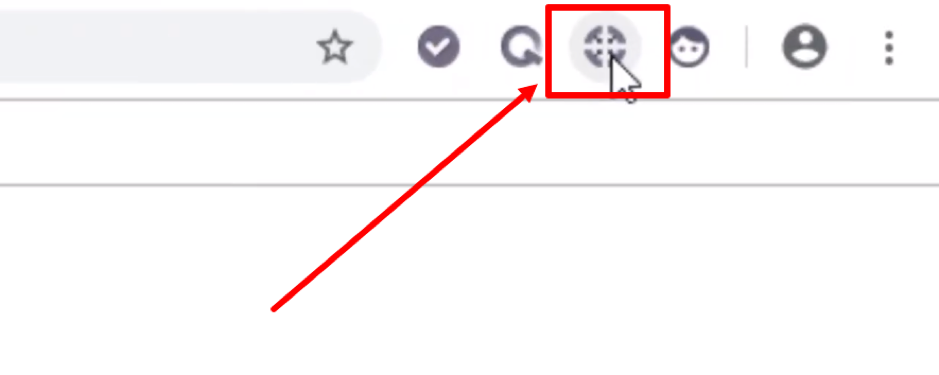
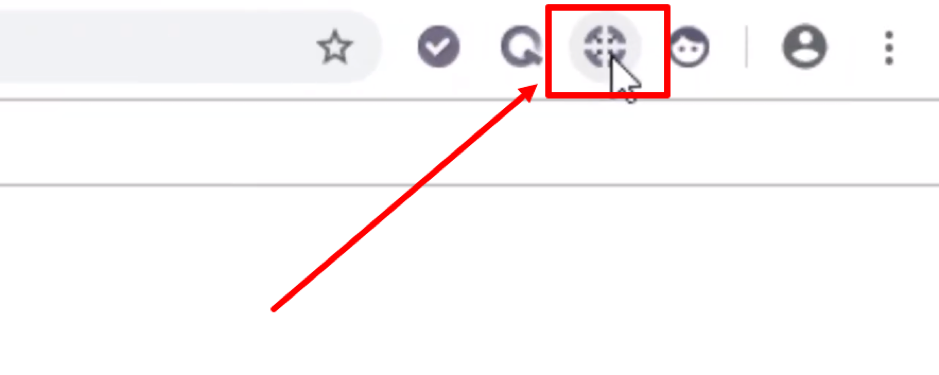
  2. Сlick on the "Ghost Proxy Control" icon on the top.
  3. 2:1.png

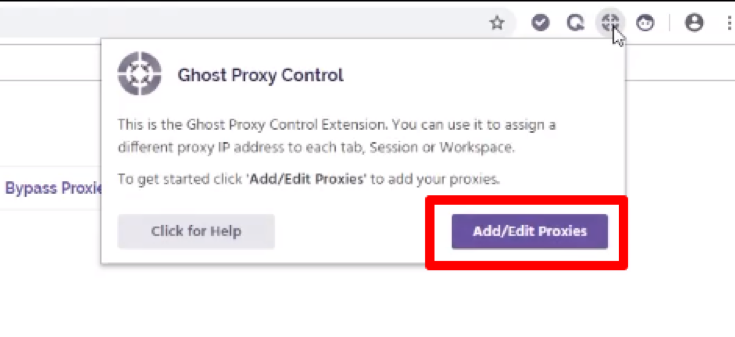
  4. Now click on "Add/Edit Proxies".
  5. 3:1.png

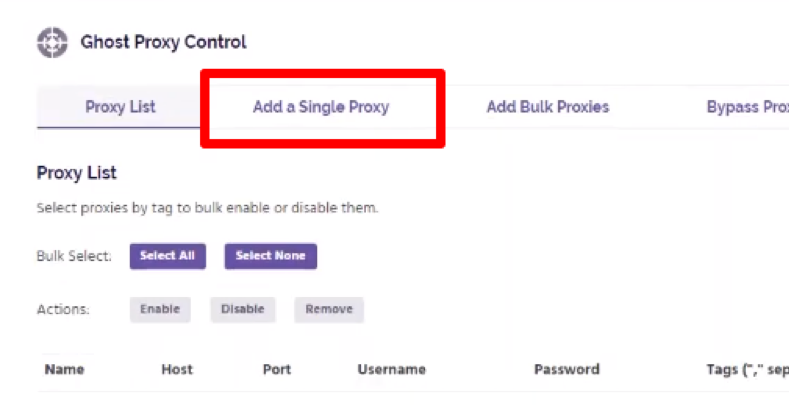
  6. There are two ways to add a proxy here: manually, one proxy, or as a package if you have one. Let's start with the first option. Go to the "Add a Single Proxy" tab.
  7. 4:1.png

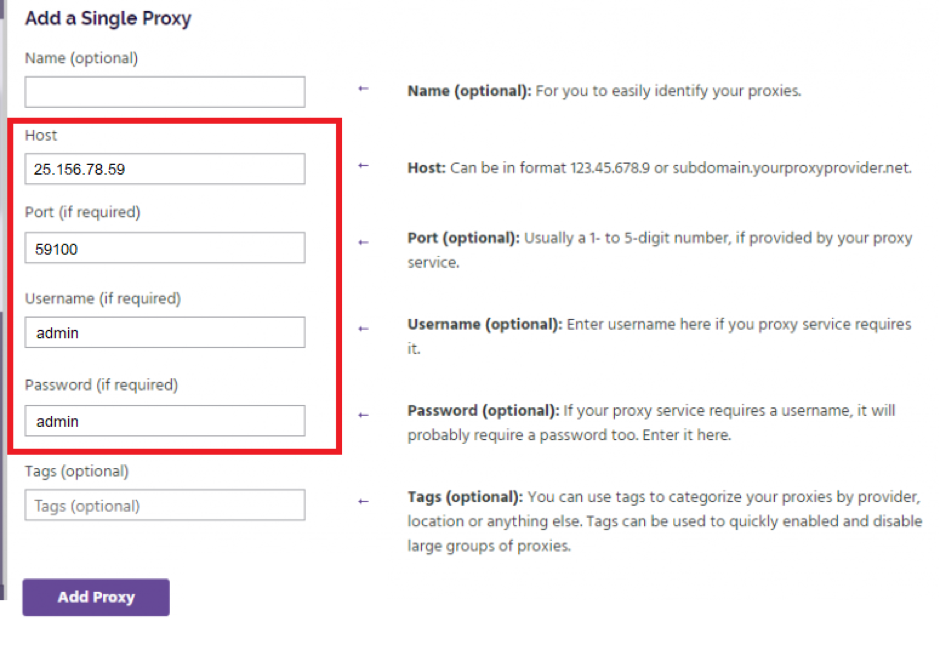
  8. Type in a name for the proxy server (optional) and enter your proxy data: IP address, port, username, password.
  9. 5:1.png

  10. Click on the "Add Proxy" button.
  11. 6:1.png

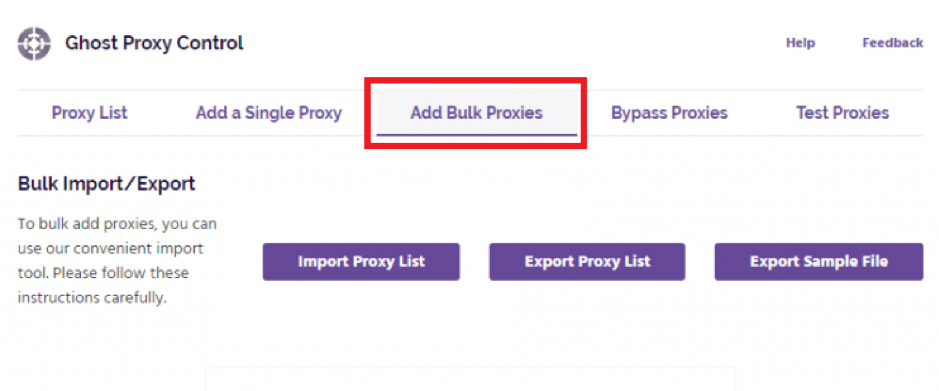
  12. To add multiple proxies, open the "Add Bulk Proxies" tab.
  13. 7:1.png

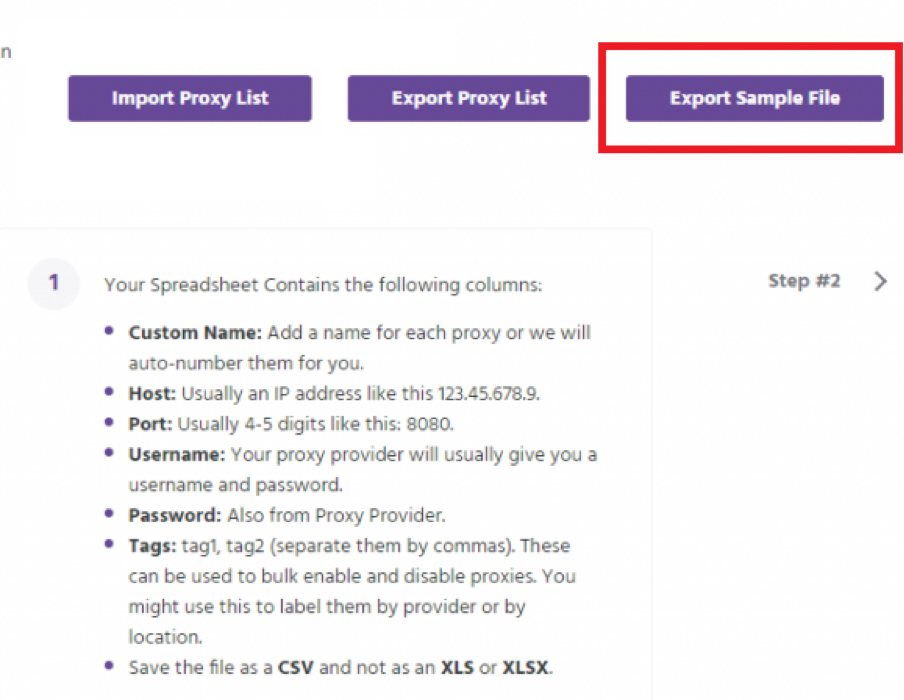
  14. Now you need to add a file with your proxies in CSV format. To get started, download the template by clicking on "Export Sample Files".
  15. 8:1.png

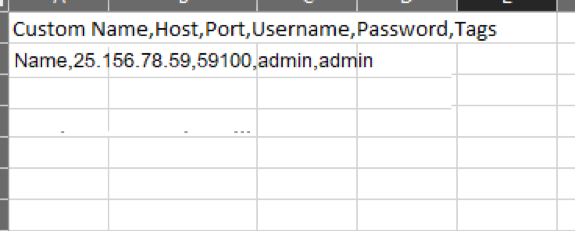
  16. Open the downloaded file and enter the proxy server details as shown in the example: Custom Name, host - IP address, port, username, password, tags. (Custom Name and Tags are optional).
  17. 9:1.png

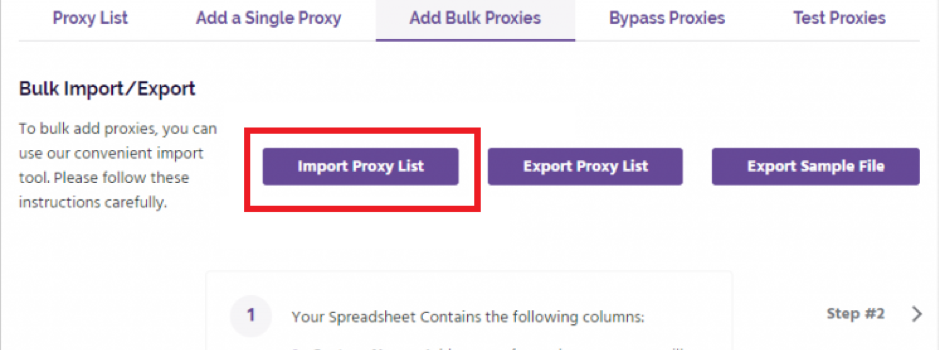
  18. Return to the browser, click on the "Import Proxy List" button and select the file you just created.
  19. 10:1.png

  20. To test the performance of the proxy, go to the "Test Proxies" tab.
  21. 11:1.png

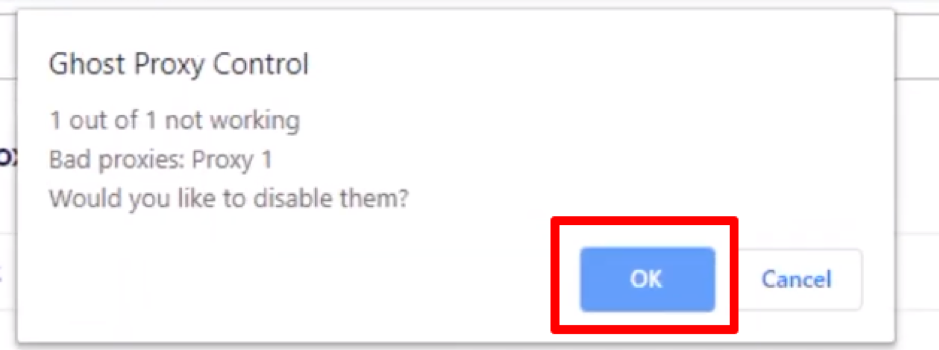
  22. In the field, enter the address of the site for which you want to use a proxy server and click on the "Test" button. In the window you will see how many proxies are not suitable for this site. Click on "Ok" to disable not working proxies.
  23. 12:1.png

    12:2:1.png

  24. You have added a proxy server in the browser. Now assign a proxy to a specific tab. To do this, open a new tab and open "Ghost Proxy Control".
  25. 13:1.png

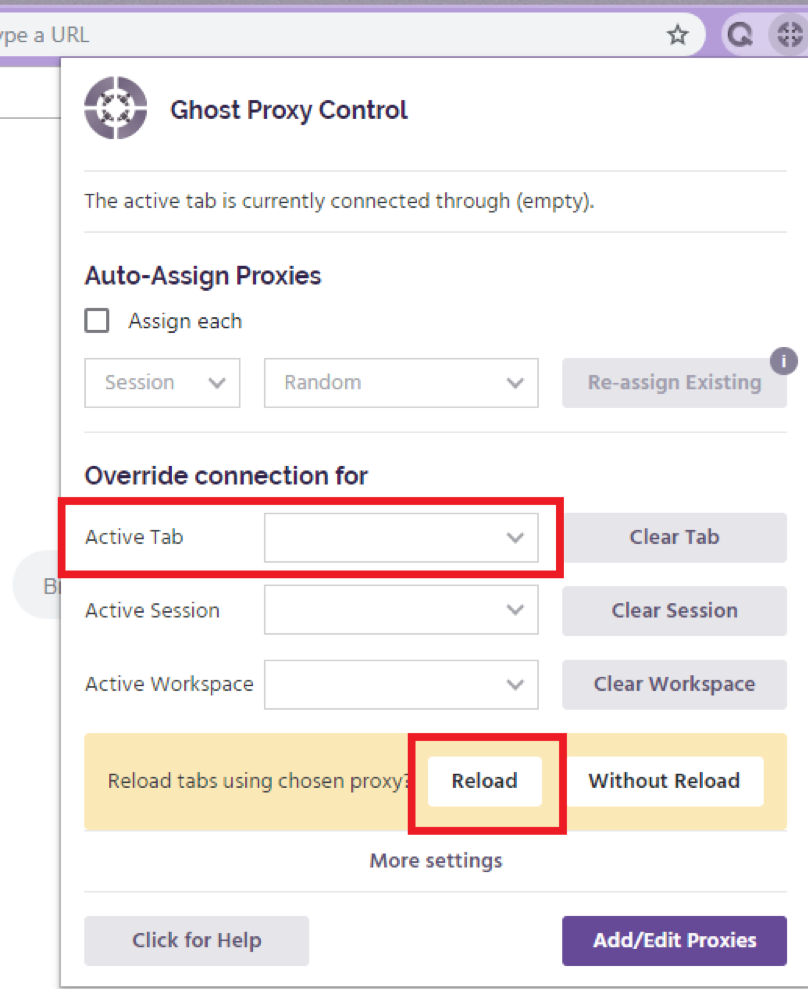
  26. In the "Active tab" field, select the desired proxy and click "Reload". Done!
  27. 14:1.png

Conclusion

Now you know how to set up a proxy in Ghost Browser! To completely secure your accounts and data on your device, use reliable personal proxy servers. Then you definitely should be not threatened with blocking and restrictions.