IPv4
From $0.70 for 1 pc. 48 countries to choose from, rental period from 7 days.
GoLogin is a multi-account anti-detect browser. You can create and manage an unlimited number of accounts on social networks or websites. GoLogin saves each profile in a separate cloud to protect your data and ensure complete online anonymity. The browser allows you to choose different tariff plans, depending on how many accounts you want to use.
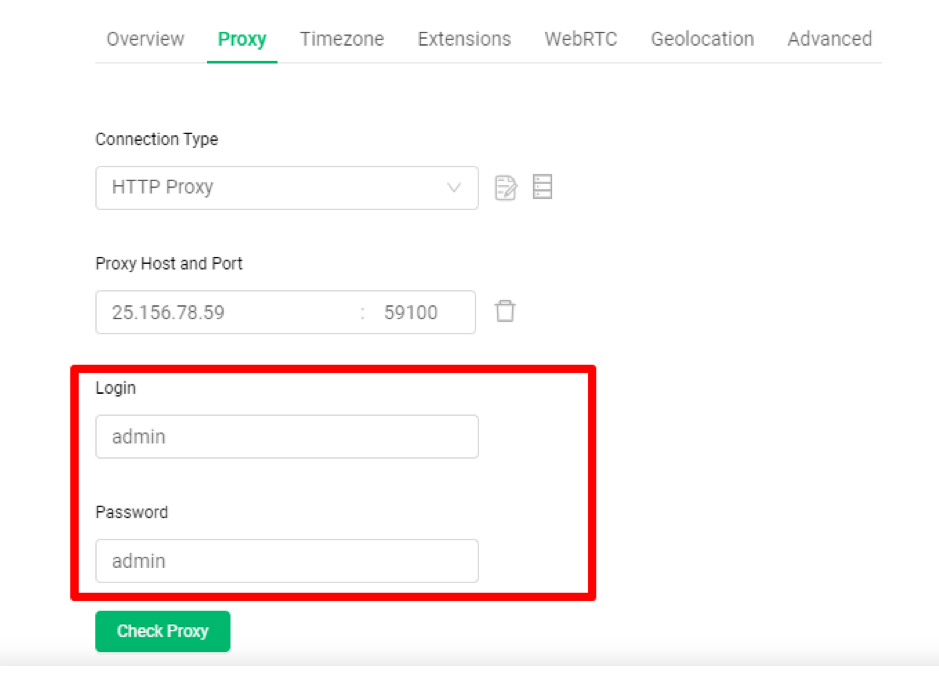
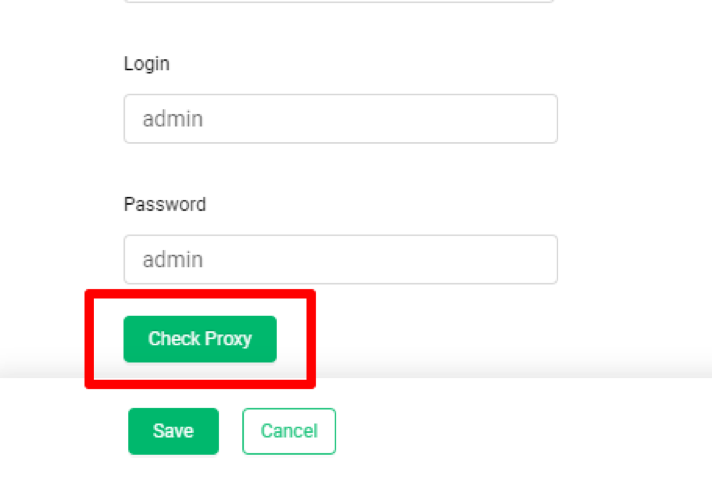
For maximum security, GoLogin has the ability to set up a proxy server. So you can change the IP addresses of the profile, and bypass blocking, or regional restrictions. Using a different address for each profile is important - because if you maintain accounts from the same IP, the site may block them.
This guide will show you how to set up a proxy server for each profile.
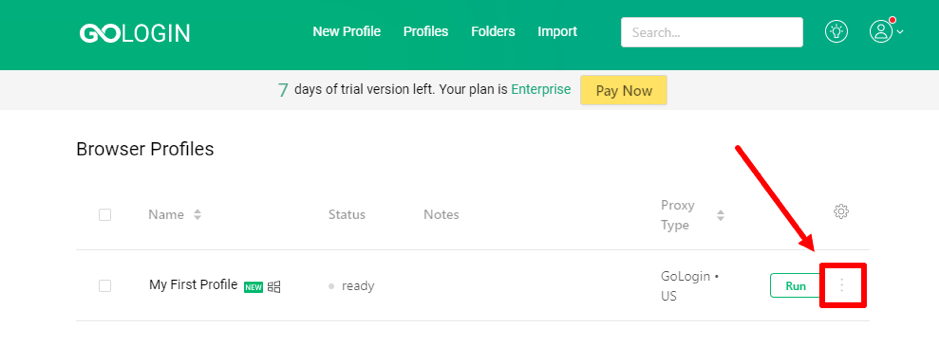
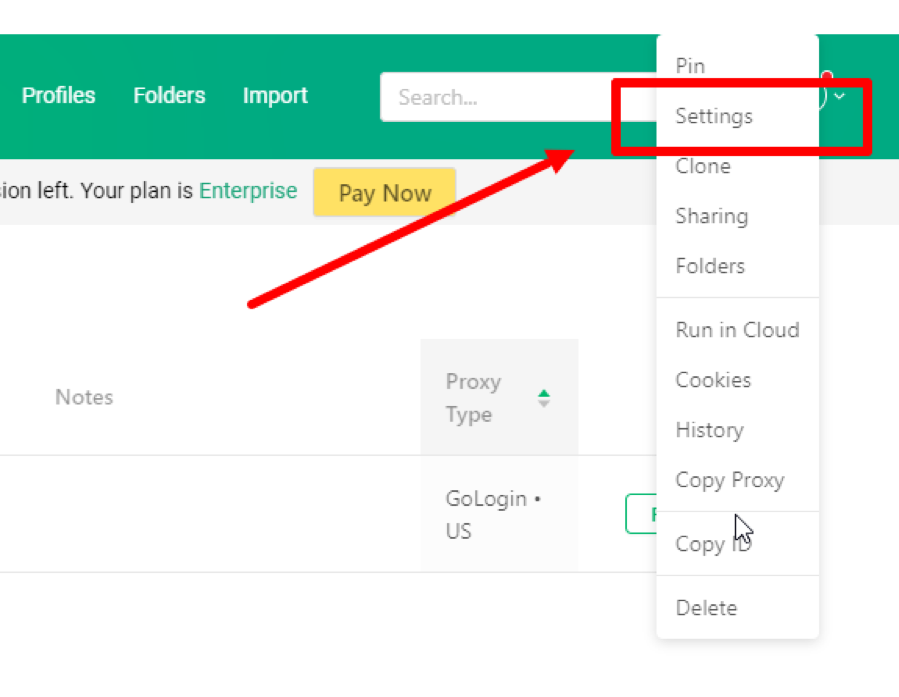
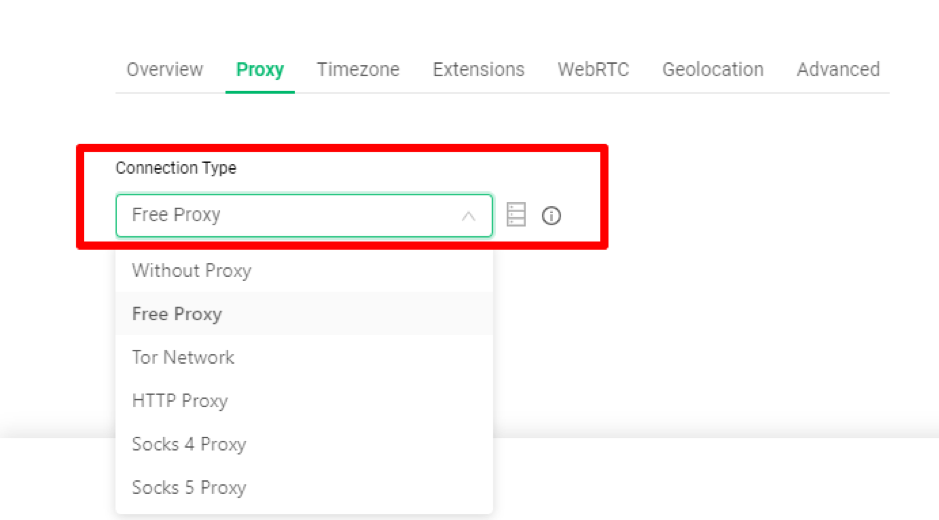
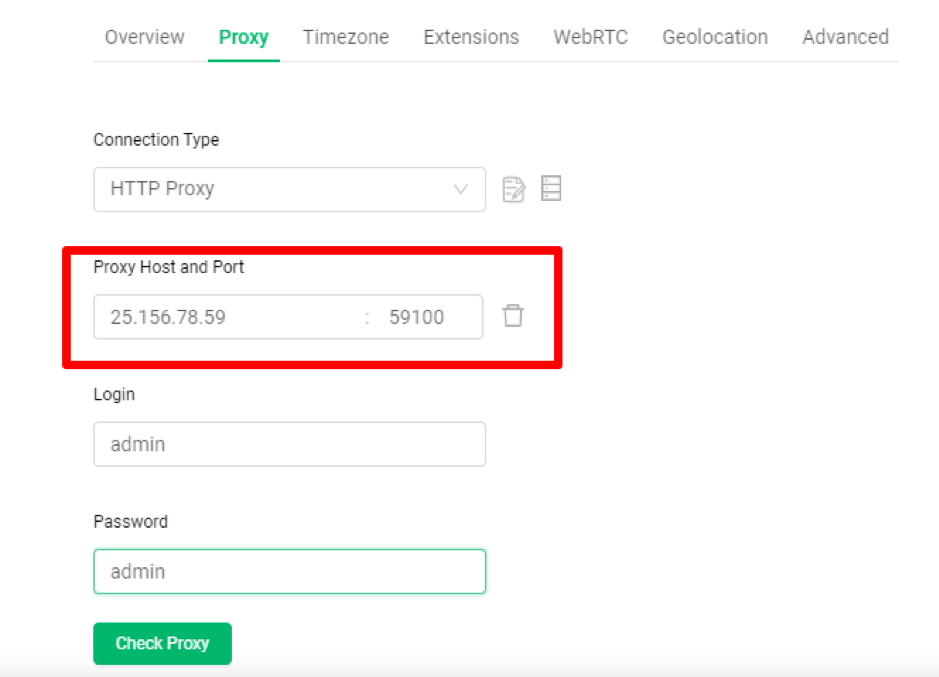
Get 14 days of free use of Gologin using coupon code "GOLOGINPS" on the anti-detect's website.
The browser supports all types of proxies and even has its own pool of proxy servers. Choose high-quality private proxies for GoLogin, which will belong only to you - so all accounts will always be safe.